Part 1 – Primer
Before we begin, I’d like to start with a disclaimer – I am in no way a master painter. I am just like you, a dude with limited time who wants to get my minis table ready. With that said and expectations set, let’s talk about how I get my minis table ready with limited amount of time.
Optimus Primer
After you have glued your minis (and your fingers) together its time to lay down your primer. I think the first thing we should go over is primer brands. I have found three brands that I like the most and will share my pros and cons for each:
Brand: Citadel Model Paint
Locations: Game/Comic Stores, Online/

Price: $14 -$20
Pros: The citadel paint has a smooth application and is quick to dry. It has a nice spray nozzle for even coats and consistent paint release. One coat is 90% of the time enough. This is meant for priming minis. They are experts in this arena, and it shows through this product.
Cons: It is expensive. Like 4x more expensive than other options. There are a number of colors but there is a limit, you have to deal with what Citadel provides and the colors are geared towards Warhammer. Also, difficult to get a hold of in a pinch. Just ran out of primer? Want to finish today…. Good luck.
Brand: Krylon Color Master Paint+Primer (indoor/Outdoor)

Locations: Hobby Stores, Big Box Retail, Online
Price: $4 – $8
Pros: The Krylon paint is inexpensive and readily available. It has a consistent spray and coats relatively well. You have a multitude of color options and choices.
Cons: You must read the label and make sure it says plastic as a surface it will work on. It is inconsistent with its spray and the nozzle is not ideal for mini painting. You will need a second coat to make sure you’ve achieved the color you’re looking for. Dry time is a bit longer than the others.
Brand: Rust-Oleum American Accents Paint + Primer

Price: $3 – $4
Locations: Big Box Retail, Hardware Stores, Online
Pros: The Rust-Oleum paint has a smooth application with a similar spray nozzle to the Citadel paint. It coats well and usually one time over the mini is enough. Dry time is in the same ballpark as Citadel. Color choices are great and it’s super cheap and readily available.
Cons: Some of the colors have inconsistent spray and need multiple coats. The nozzle can be cheap and break from time to time. Some of the colors will take longer to dry and will remain sticky for longer periods of time.
As you can see the three choices that I have found all have their faults, but I have found use for all of them. If I had to rate them, I would put Rust-oleum as my go to right now due to price, availability and consistency.
Prime with the colors of the wind

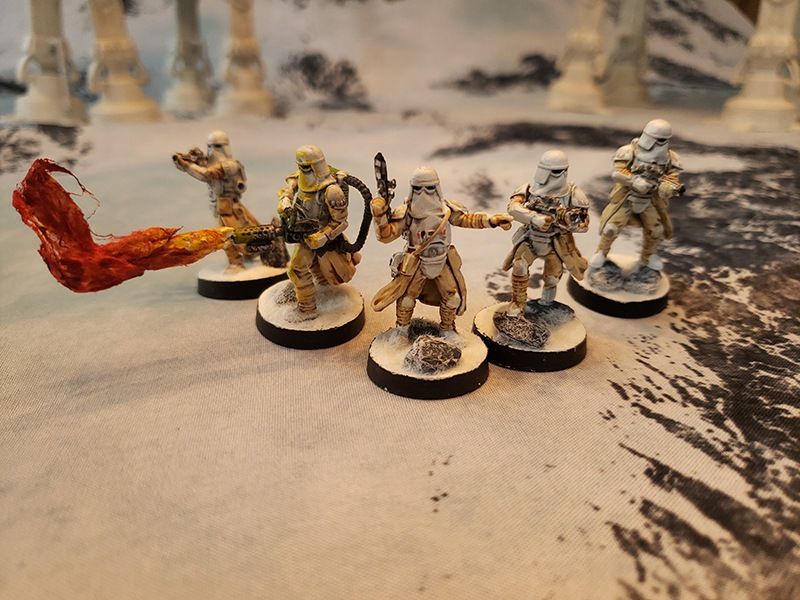
I know a lot of the pros will start with a white or a gray primer, and that’s probably the best way to do it. However, if you’re looking to do a quick turnaround on minis, meticulously layering your paints isn’t going to work. When choosing primer colors, I try to look at what the final colors of the design will look like. For example, if I am painting Royal Guards, I will prime them red, with storm troopers I would do white and rebels I will do green.
This helps when you go to paint the rest of the mini, you now have smaller areas to deal with when painting with a brush. For instance, with the Royal Guard I only have 3 colors to now paint with and a shade. Below is the breakdown of the colors:
- Gloves/Boots – Black
- Weapons – Grey
- Pants/Shirt – Purple
- Cloak – Shade

I believe this is the easiest and fastest way to get your minis table ready. It makes the rest of the painting process easier and decreases the amount of time you need to spend with a brush. Most of the minis in this game will look really good with only 3-4 colors on them, so if you can knock one of those main colors off in the primer stage your ability to pump out minis will greatly increase.
Next week we will talk about painting techniques that are quick and easy and look great (from far away).


