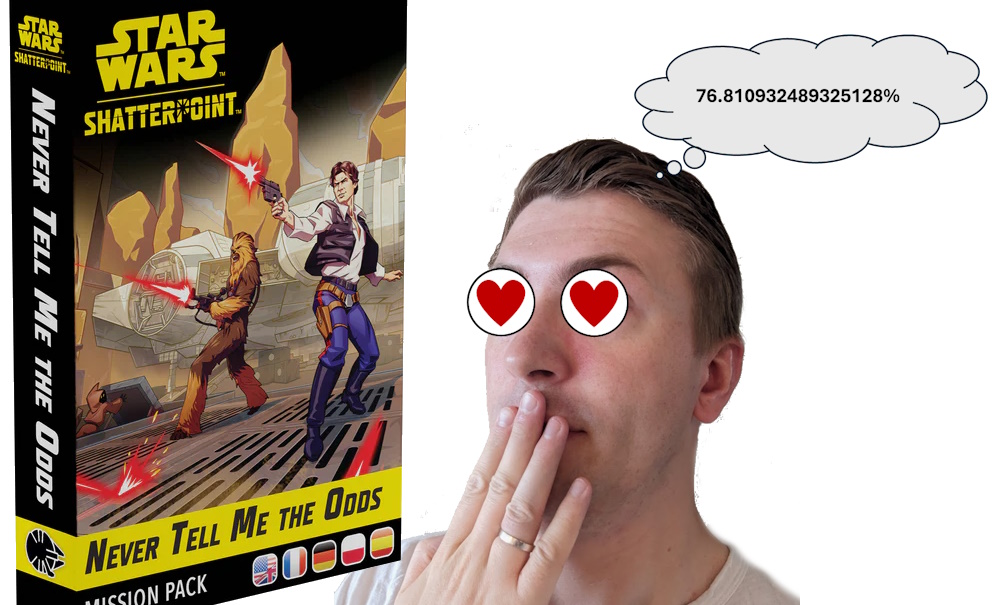
Before we begin, I have a small rant inspired by the name of this article: can we pour one out for The Mandalorian’s Fearless and Inventive ability? It’s about being surrounded in melee and only getting more powerful, so a more apt name would be I Like Those Odds. Echo & Tech (Keep a Low Profile) get to have a special name for the same ability most other clones have (Defensive Maneuver) so why can’t Mando and Boushh have the same ability with different names? Just an oversight, surely, but a sad one. Anyway, a new objective, Never Tell Me the Odds, comes out on June 7, so let’s talk about it!
While the databank download was quite underwhelming, we did get full spoilers curtesy of Aegisbrand Studios on YouTube. We didn’t get great pictures of the cards, however, so I’ve done my best (who am I kidding, I slapped these together and said “good enough”) to create some passable renderings for the article today. There’s an OK picture of the setup card on the store page though, so let’s look at that first.
The Overview

The first thing that jumped out to me when we first saw this card back at Adepticon is how wide the midline objectives get. With the center of the token just range 2 from the battlefield edge, the wide objectives are a whopping five inches further from the middle than we’ve seen before. As such, these objectives will often be harder to get to, feel more isolated, and some shoves/pushes may be tricker because of the board edge. We also see the backline objectives are range 5 from the players’ table edges, the same as in Sabotage Showdown. These objectives will be attackable and maintaining control of them should not be taken for granted. Finally, we see three middle-ish objectives. The close proximity of these objectives can create some interesting scenarios, as we’ll see when we dive into the layouts shortly.
The picture above is a bit hard to read, so I’ll quote it below here:
During each struggle, one Unit type is Challenging the Odds as indicated by the Active Struggle Card.
Once per turn, when a character in a Unit that is Challenging the Odds Wounds an enemy Unit, you may spend [one force] to move the Struggle token one space toward your Momentum tokens.
So each struggle, on unit type (primary, secondary, or support) will have an Anakin-like ability to move the struggle token when wounding an enemy, provided you pay the force cost. Note that this is not an active or reactive ability, so injured units still only have to pay one force to move the struggle token. The wound doesn’t have to come from an attack (something like Wrecker’s I Wasn’t Sneaking could count) and it doesn’t have to be that unit’s activation (Rex’s I’m Always First, Kid could work). Moving the struggle token is a very powerful effect, enough that I keep list building with Anakin despite all of his shortcomings. If your list is extremely tight on force then I would hesitate to bring Never Tell Me the Odds. I don’t want to give my opponent a potential advantage that I struggle to utilize. I’d say a good rule of thumb is to budget one force per deck to Challenge the Odds. How much it will actually come up can be hit or miss. I’ve had entire games where it was used maybe once total by both players combined, and I’ve had a game where one player used it three or four times in a single struggle. When the opportunity arises you will often be sad if you can’t afford the force cost.
Now that the preliminary stuff is out of the way, let’s dive in to layouts!
Struggle 1 – Asymmetry has arrived

Daring Gamble and Desperate Measures are the same layout but mirrored, so let’s start with those. One player will start with both backline objectives lit up along with the midline objective on their left. The other player will have their back left, middle, and midline-right objective lit up. Ideally you want to be the player with both backline objectives active. Firstly, it is much easier to deploy contesting the back two objectives. Unless you are running a unit with the Infiltration ability (the upcoming Imperial Special Forces and Rebel Commandos have this) then it is impossible to deploy contesting the middle objective closest to you. OK, it technically isn’t impossible. If you have Greivous and Ponds and line things up juuuust right then you can do it, but then you still aren’t contesting all three closest objectives so what’s the point?
The disadvantage of starting with only one of your backline objectives has not been as bad as I thought. That’s fortunate, because if you had to run ISF or Rebel Commandos avoid getting screwed 1/3 of the time on this objective then that would be very sad. Usually your back left squad can’t attack the midline-right objective, freeing them up to mosey over and secure the more central objective whenever they’re drawn. I’ve found the bigger disadvantage to be the lesser security of one of your “home” objectives. The objective is 3 inches closer to your opponent’s edge than your backmost objectives and you have to put units up there which could be targets for ranged attacks or even a very speedy melee unit.
For either player, the units lined up closest to the active midline objective are a valuable resource. It’s the only “neutral” objective and you probably only have 4/7 activations that can flip it, so you need to make them count. It’s hard to hide your list’s weakest link if the objective is on their side. I want all of my units to have the mobility to get to the midline and a bit of extra stickiness like Steadfast or Immovable can go a long way.
Taking Desperate Measures as an example, I’ve sketched out some typical play patterns for first activations. Attacking anything but the midline takes quite a bit of mobility, of course, but if you have the capacity to do so then that will open up a lot more options rather than hoping you’ll be the last one standing on the midline after everything has activated. However, attacking your opponent’s backline too early has often backfired in my experience. It is very hard to hold the objective for long and you take a lot of damage. Enough that even flex tape may not be enough to save you. Ideally I’d hit the opponent’s backline when maybe two of the units on that side have already activated.

Shifting now to Questionable Heroics, we see the center is going to be an absolute blood bath. Very mobile units could still potentially attack the backline, but anyone who can do that could probably have an easier go at the middle. Things can often devolve into an “I score three, you score three” situation as the middle flip-flops every turn, so finding ways to keep a tighter grip on the middle is especially important. Units with defensive auras such as Bo, Wrecker, or Obi2 can feel great on this layout since there is only one main area they need to cover. I’ve also found Challenging the Odds to be particularly impactful on this layout. If you get into the aforementioned flip-flop of the middle every turn then it’s possible the struggle tracker is landing on the middle space every other turn. Usually it would be middle, then over to the second player’s side, then back to the middle, etc. since the second player scores first in the game. That scenario puts the first player on the clock since the second player will eventually win the struggle if the situation repeats long enough. Pulling the struggle cube one extra spot can mean it starts flip-flopping across the middle, stopping the momentum gain. Conversely, pulling the struggle cube one extra space could be very useful for the second player to set up a situation where the token starts landing on the middle every other turn.
In light of the various opening layouts in Never Tell Me the Odds, deployment becomes and interesting puzzle. My buddy Dylan does a good breakdown on his YouTube channel Time to: Nerd. I’ll just dive into my main method here. Essentially I deploy the primaries across from the two backline objectives, but slightly off-center towards the middle of the board. Not much, mind you. This approach allows two units to contest the back objectives from deployment, providing some extra protection if one activates early and vacates the spot. Pushing slightly towards the middle makes it a bit easier to attack either the side or central objective. If you cheat towards the board edge on deployment then it will make it easier should the Desperate Measures or Daring Gamble show up, but you could be at a big disadvantage if it’s hard to reach the center on Questionable Heroics.

Here we’ve got both Ahsoka and a Clone Commando covering the back objective. Should one leave, the other can keep it sort of safe from a sneaky flip. The deployment of the second commando could be left of Ahsoka or right of his buddy, depending on terrain. Whatever gives the best access to both the middle and left midline objectives is where I would go. Of course, terrain could necessitate a shift of the whole squad, depending on blocked lanes or ingress points. As shown, Plo can reach contesting range on the left or center midline objective with a dash and an advance if he can move in a straight line (big if, of course).
Struggle 2 – It’s all triangles

I hope you like trigonometry, because there’s a lot of triangle stuff going on here. The layouts I Have a Bad Feeling About This and It Could Be Worse have similar vibes as two of the Shifting Priorities struggle 2 layouts, So Much For the Element of Surprise and We’re Going to Need a New Exit, respectively. I don’t have much to say about these two except that the objectives are quite spread out (my mock-up does not do justice to how far apart the backline objectives are from each other) so units will not usually be moving from one active objective to another. It’s Worse, however, is much more compact. It also doesn’t give the loser of struggle 1 much to choose from since two of the objective locations are locked in. This can lead to a real feels bad moment if this layout isn’t good for you. Usually picking the struggle 2 layout is a pretty decent advantage.
If we look at the frequency of each location, we notice quickly that the exact middle never shows up in struggle 2. The two off-center ones show up three times each, and all other objectives show up twice. If you’re trying to set up for struggle 2 in struggle 1, getting bodies on the two off-center objectives is the way to go. Not only are they the most prominent, you may be forced to play them if It’s Worse is drawn. Furthermore, units located at these two objectives could be moved out-of-activation to contest objectives around the edge of the board once you know which ones are lighting up. Even though the fight will probably not be near the middle of the board in struggle 2, it’s still good to get set up there.

Struggle 3 – Asymmetry is back

Each layout in struggle 3 has at least one locked active objective. For Noble Sacrifice and One in a Million it’s the far left and mid-right, respectively (from the first player’s perspective). Similar to It’s Worse, the layout No Such Thing as Luck locks in two locations, giving the loser of struggle 2 the placement choice of only 1/3 active objectives. Once again, this could lead to some feels bad moments if you aren’t set up well for that layout.
The frequency chart looks much funkier for struggle 3 than for struggle 2, and it is asymmetric which will make it harder to remember. The big standout is the mid-right objective (again, from the first player’s perspective) appears four times, with each of the three cards having an option where it’s active. Strangely, the bottom left is active three times, though it won’t be an option if you draw Noble Sacrifice. When setting up for struggle 3 I’d say both players should try and get bodies on the mid-right. The struggle 2 loser should try for the back left as well, since that will be useful for 2/3 struggles. The winner of struggle 2 will get less bang for their buck, though, since if they attack the back left then the top right may be chosen instead for No Such Thing As Luck and the back left unit could be slightly stranded. Perhaps they could move out-of-activation to the mid-left objective in that scenario, though. Putting units in central positions is pretty good for Noble Sacrifice and One in a Million, but they won’t prove especially useful No Such Thing as Luck.

Challenging the Odds – A Summary
Looking once again at this scenario’s special twist, we see that there is a skew when it comes to Challenging the Odds. Supports challenge three times (but never in struggle 3), secondaries challenge four times, and primaries challenge twice (only in struggle 3). To effectively challenge those odds, you’ll want killing power distributed throughout your list. Having at least one decently damaging secondary is also an advantage, but I wouldn’t skew super hard in any single direction.
It will sometimes be optimal to leave a unit close to death to later wound it with a unit that is challenging. Secondaries like Crosshair, Wrecker, and Chewie that can use an ability to pop one unit then use their main attack on another may prove to be particularly valuable on this mission.
Wrap-Up
Spoiler alert: my next article will focus on choosing a mission for your strike team, so I won’t give away all my secrets yet for Never Tell Me the Odds. You’ve come this far, however, so you’ve earned something. If I were to make a list especially well suited to this mission, here are some parameters I’d consider (in no particular order):
- Force availability – I want to have the force budget to comfortably use Challenging the Odds at least once per deck
- In-activation mobility – the objectives can be quite spaced out so I want to make sure units can get where they need to and avoid dead activations
- Melee/ranged flex – related to mobility, strong ranged units can have a larger board presence than melee only characters, who may get stuck with a dead activation
- Killing power – most lists are decent at getting wounds, but if it’s a strength then this is a mission likes to reward those kills
- Defensive auras – sticky units that can also influence their friends help a lot in struggle 1 when there is only a single active midline objective
- Diceless displacement – this is the offensive version of defensive auras, in a sense, as I want to reliably flip the midline objective, even when the defenders are very sticky
If you want to see Never Tell Me the Odds in action then check out my YouTube channel, Bombad Tactics. I already have a “low-effort” bonus battle with the new mission and a full-fledged, fancy battle report should follow soon. Enjoy the new mission and let me know if you crack the code on a super solid strategy for it.


