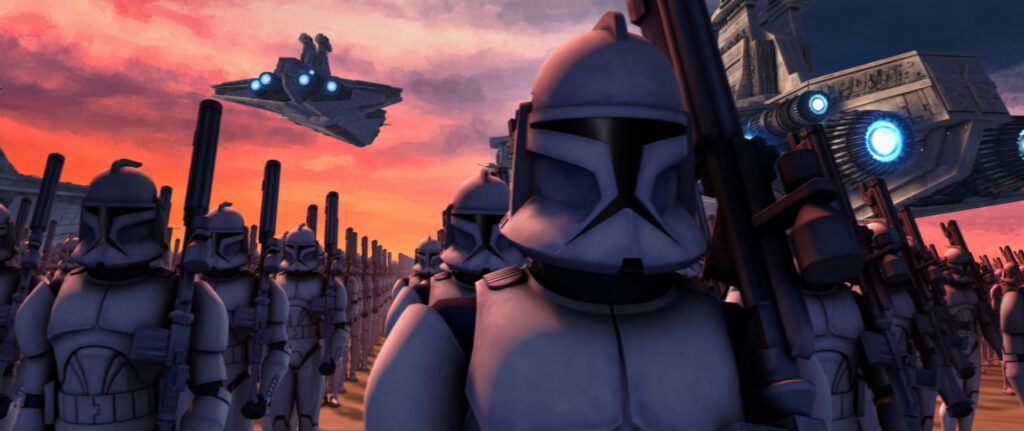

This Invader League season I decided to play the Grand Army of the Republic, or GAR, in order to start practicing the faction. I know the faction isn’t ready to be 100% competitive yet, and that’s okay. The more I practice now, the more I can learn, and the better I can be later on when GAR starts to flesh out. Right now I’m 1-2 in Invader League and 4-3 overall (practice games with Mike) with the list I have put together. Keep in mind, there are still missing pieces to the puzzle, but Invader League and TableTopSimulator allow me to test unreleased units and this list won’t be possible right out of the gate. The most important thing I have learned in my seven games with GAR is that you need to think ahead (like 3-4 moves) quite frequently. You can run into spacial issues as you try to stay bunched up for your token sharing. Also, you need to really think about what tokens to take and what unit takes what token, because token sharing is where the Republic really shines. Picking your spots with Fire Support is also a major key to your success or your failure. Today I want to focus on planning ahead in a lot of areas to set yourself up to succeed. I’m using a specific example from my latest Invader League game with screenshots to describe it as best as I can. First let’s go over the list I have been running!
The List
798/800
Obi-Wan Kenobi (Force Push, Strict Orders, Tenacity)
Clone Captain Rex (Offensive Push, Recon Intel, Environmental Gear)
R2-D2 (C-3PO)
Phase I Clone Troopers (Z-6 Phase I Trooper)
Phase I Clone Troopers (DC-15 Phase I Trooper)
Phase I Clone Troopers (DC-15 Phase I Trooper)
Phase I Clone Troopers (Z-6 Phase I Trooper)
Phase II Clone Troopers
Phase I Clone Troopers (Z-6 Phase I Trooper)
The point of the Phase II’s in this list is to get a free surge token with their Reliable 1 keyword. Eventually, when the Phase II’s get their heavy weapon I bet you put a few Phase II Z6 units in a list and build out from there. Courage 2 on a Z6 and a free surge every round? Seems good!
Opening Set Up

I’m going to start by saying Major Offensive is the best deployment for the clones. Similar to what you have done in the past with Major Offensive, clumping up in in the top of the big box and leaving the “panhandle” well alone works wonders for the most part. However, it’s not as simple as it may seem and you need to start your forward thinking in deployment. You tend to run out of room to put units down in the area you want. What I have done in my seven games is put down Rex earlier than you would expect to trigger his speed-2 (thanks to scouting party and recon intel) Scouting Party and give myself more space in the deployment zone while moving up certain units that I want to move. In a lot of my games I have been scouting up the DC-15 squads and hanging the Z6 squads back, to perhaps set up some range 4 potshots with Critical 1 on it. In this game I decided to scouting party a Z6 and a DC-15 squad, I’ll explain why.
The Execution
My opponent this game had Leia/Sabine/Triple Taun Taun but we also had Recover the Supplies. I was tempted to put Kenobi on the panhandle and threaten the middle but Sabine had her electro-grapple line. I did the smart thing and just put Kenobi in the heart of my army. However, this meant I needed to figure out a way to apply pressure on the middle, before the Taun Tauns got in, and make sure Sabine couldn’t get to that middle box and run away with the game. When deploying, I knew Sabine was going to deploy in her panhandle and start her trek towards that middle box. Depicted in the picture below, Rex (teal) scouting partied (gain an aim! with Tactical 1) with a Z6 Squad (Blue) and a DC-15 Squad (Red). The reason for this was pretty simple: Rex can move into range 2 of the middle box and fire support with the Z6 Squad I scouted up with him, already in range of the middle box. Not to mention, I could do it with two aims thanks to Rex and his Tactical 1 or three if I wanted to get greedy with Offensive Push.

Now, there was no guarantee this could even work. I was out activated by my opponent by two whole activations which would all but certainly mean Sabine could act last or later in the round. I played Rex’s three pip and my opponent played No Time For Sorrows to move Sabine even further up, along with a Taun Taun to threaten me. While Sabine got into a good spot, depicted below, her moving more forward somewhat helped my plan that I started to draw up in deployment.

As you can see in the picture, Sabine is behind those crates near the middle box. Now (the two DC-15 squads are colored red to make the description easier) it was time to move up my range four weapons to pot shot Sabine for suppression purposes. With her not having the Darksaber, I wanted to spook my opponent into thinking she needed to activate early before losing an action and get her into range for the Fire Support I had set up. I took one shot on her, applied a suppression, and my opponent decided to activate her as he was worried about her being suppressed. She moved to the middle box and claimed the box. My trap is now set in motion. I decided to go for it right away. Rex moves up, gains his second aim, and the boys rolled three red, four black, six white into heavy cover and a dodge (she got it from Leia earlier). Now, since Rex is the one leading the shot, this dice pool had surge crit which is super important, as I think I had four or five surges. When it was all said and done, it was an eleven hit shot, down to eight, and she failed four of them. Sabine, four or five activations into the game, is sitting on one wound. I was able to cap her off with a Z6 in the back who moved and shot her. I believe I had an aim from somewhere else, but not entirely sure. Either way, I was able to take Sabine off the table round 1 which was massive in the key to success in this game. It took a lot of forward thinking and set up, luckily it paid off. It could have gone in the other direction, of course, but the dice worked for me.
General GAR Musings
I’ve come to learn how important deployment is with GAR and especially deployment types. Even if balling up on Battle Lines seems subpar, I suggest you do it anyways. I tried to split up and then meet up in the middle, and it did not go well. This is where planning ahead can sometimes backfire, but it’s still very, very important. You need to be very aware of how you cohere, how far away each unit is, where General Kenobi is at all times, and very aware of your opponents list. I know you don’t need me to tell you this but token sharing is amazing and absolutely fun. You just need to be aware of who takes what token and when. For example, the DC-15 dice pool is pretty consistent, so I find myself aiming with them but not spending that aim, to set up a move and shoot with a Z6 in the back. Something like that, again, takes some forward thinking which I love about this faction. It challenges you to make all the right decisions, or decisions that may seem right in the moment, in order to succeed as an army.
Another fun thing is sharing standby tokens. If you keep a unit out of LOS or out of range of your opponents guns, you just give them an aim and a stand by to share to the other clone boys! It can help you protect from units making their way in (looking at you Taun Tauns) or you can get extra spicy and use Obi-Wan to force push something and set off the token sharing. As we just learned recently, you can funnel all the stand by tokens to one unit and spend them sequentially if you need to do so, which is going to be a major key to success for GAR in my opinion!
It’s going to be interesting to see what comes out for the Republic in future releases and how that affects list building and play style! For someone who swore they never would leave the Rebellion behind…..I announce that I am indeed a liar. As Chancellor Palpatine once said: “And as my first act with this new authority, I will create a grand army of the Republic to counter the increasing threats of the Separatists.”

