

In this article we will take a look at the Unnatural Resources (Dianoga) scenario for Star Wars: Legion.
The Unnatural Resources Scenario kit
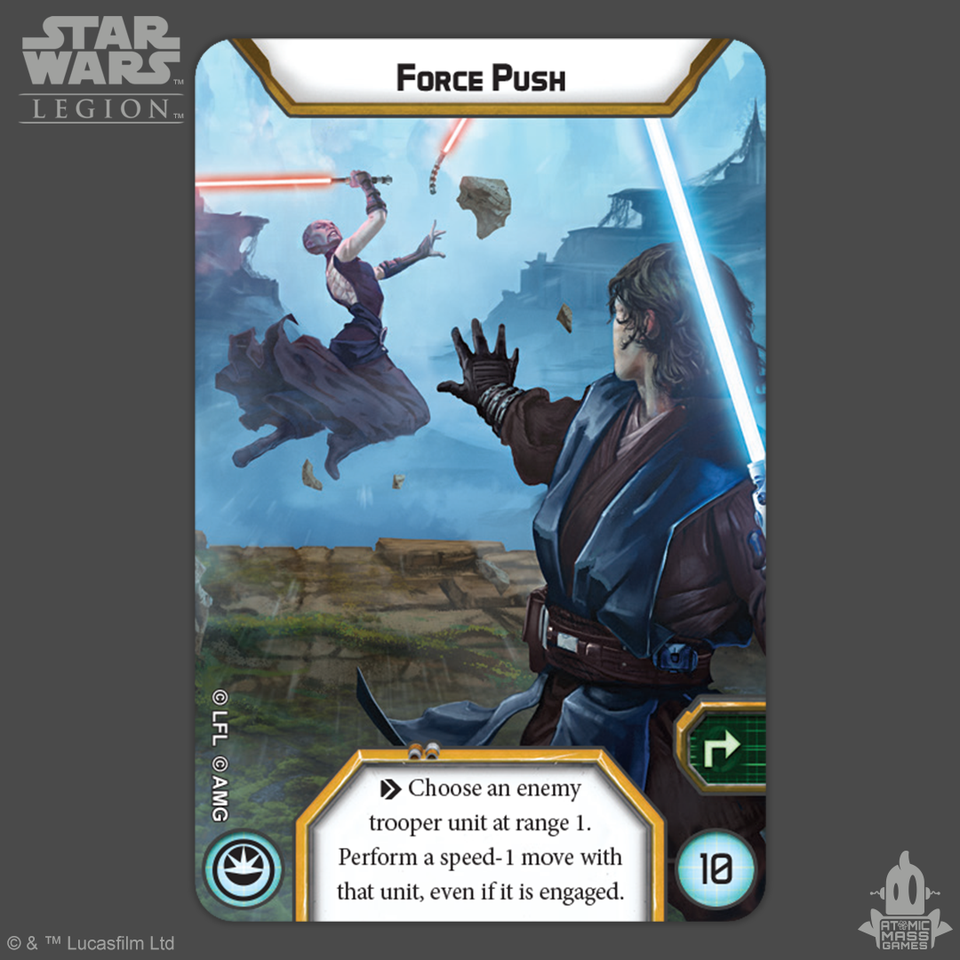
If you play at your local LGS, chances are you’ve played or heard about the Dianoga scenario, Unnatural Resources. Previewed at Adepticon and finally hitting stores in the last few weeks, it’s a fun scenario to play around with or to have at a full blown event. The kit comes with a scenario card, tokens and an alternate art Force Push (you know the one), and enough of each for 8 people and more if you can read another language! Machstoss for the win!!
The Premise
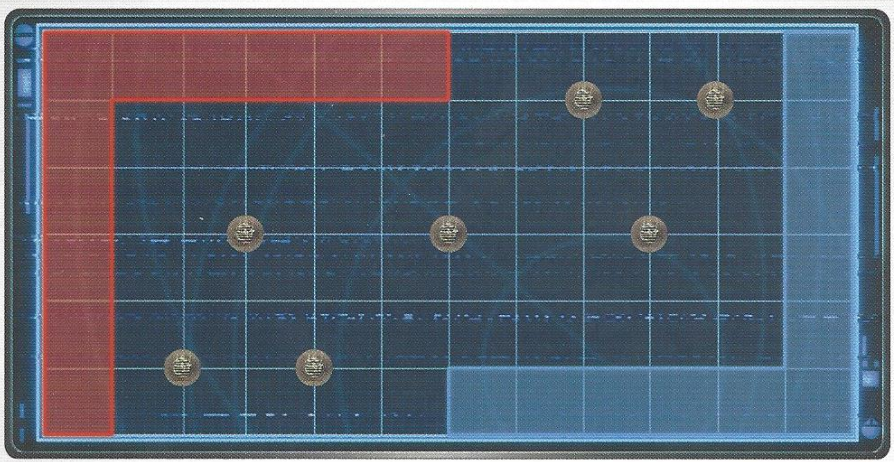
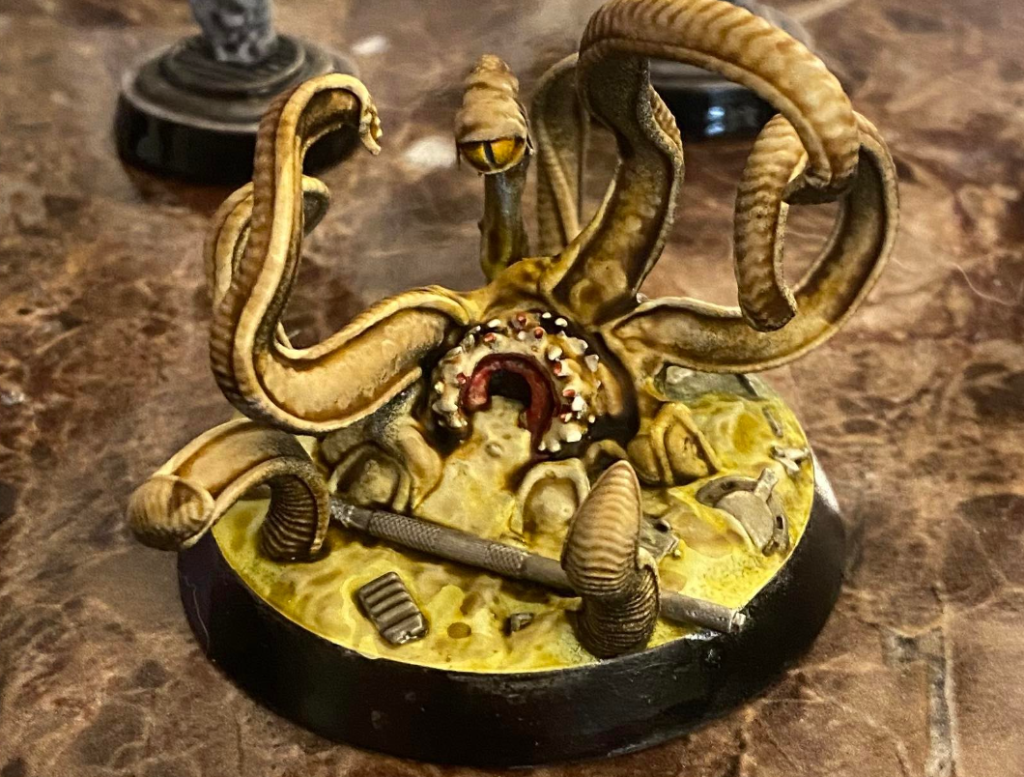
Your (800 point) armies are converging on a field to collect resources, represented by 7 objective tokens (“Vents”) laid out as above. Deployment zones are as displayed, right along the board edges. The dianoga lurks near the board center, placed by the red player. As with most scenarios, Bounty, Infiltrate and Secret Mission are not in effect, but otherwise armies are built normally. Any time a unit (standard) moves within range 1 of the dianoga token, it scurries off up to range 2 away in the direction of the triggering player’s choosing. At that point the dianoga lashes out at everyone within range 1. Repulsor units are the exception to this. Scoring happens at the end of each turn (and a free dianoga move at the beginning), 1 VP per vent, and first to 14 (or highest at the end of round 6) wins!
But How Does it Play?
We’ve played this scenario several times now, and I love it. It brings a whole different style of play and list building in some cases. Our LGS hosted the event about the same time my Shadow Collective army was ready to play, so I wasn’t missing out on a chance to put them to the table, but I wasn’t quite prepared for the scenario’s differences.
As previously mentioned, the dianoga runs away when a (non-repulsor) unit moves within range 1, and wherever it lands it has a chance to inflict wounds and suppression to every unit within range 1. This makes it very easy to weaponize the dianoga, but with alternating activations, it becomes a ping pong match of death. Obviously in this case, having more activations is a bit advantageous and anyone who knows me, this isn’t something I keep in mind when I build my lists. The objective (vent) tokens have a range 1 cover effect as well so holding the objectives in the open isn’t too terrible.
My first game found Gar Saxon caught in the middle of the battlefield and the dianoga wasn’t going to leave him out of the excitement. When he finally went down, I think he had 16 suppression tokens on him. He had actually had 8 prior to that, rallied 5 away then recovered. So you get a LOT while in between units bouncing the creepy critter back and forth.
I’ve switched my Shadow Collective list in the past few weeks to a Maul/Cad Bane build. My first game with them was another dianoga game, and despite Maul having a bit of a handicap (Infiltrate isn’t allowed) I still managed to pull out a win. My opponent wasn’t quite ready and tried to keep a gunline mass at first, which was an ideal feeding ground for the tentacled terror.
I’ve had a few other games here and there and they’ve all been a blast. I still have some other lists I want to try, including a Vader list and one with double LAAT/le filled with Black Suns.
Strategies
So the things to think about when preparing for a dianoga adventure are;
- Trying to keep a high number of activations. More activations = more chances to move the dianoga onto your enemies, or drive it deeper into their forces.
- Suppression/Panic management – You are going to gain a lot of suppression tokens, even without your normal accumulation of suppression through normal means. In one of my prior games, the dianoga dished out well over 50 suppression tokens alone. Inspiring Presence will be handy as well.
- Repulsor vehicles. The dianoga isn’t triggered by repulosors, nor does it lashes out at them, so your floaty vehicles are going to be able to have some immunity. LAAT/le and A-A5 transports are going to have a bit more importance here.
- Long range weapons. Snipers and infinite range weapons and generally long range army lists are going to be able to press an advantage, at least in the early turns of the game.

Final Thoughts
I absolutely love scenario and campaign style play. Out of all the scenarios (Bunker, Downed AT-ST, etc) I like this one the best so far. Obviously it’s not going to be as popular, since competitive play is such a huge part of the community, but it’s a fun little alternative if you want something different.
The store-only availability is a bit of a challenge for this kit, especially since it seems to be a more limited run than your standard expansions. Not everyone lives near an LGS unfortunately. On the flip side of that, I love the event-style recommendations for the stores. A great game day is a way to get interest in the game.
We’re really looking forward to Dynamic Exit now, the next Organized Play kit that’s coming from AMG. It looks like a really fun adventure!


1 Response
I went full in on suppression with this list… Dooku / Grevious each have a supression generating command card, a pair of droidekas, and a pile of B1s to hold objectives and lob the dianoga at people.
Seeing supression counts into the double digits is not rare, and I probably forced more units to flee than I killed.
Do not clump your forces – The more spread out you are, the less impact the dianoga has. Maybe pack a couple of units with speed 3 moves that can dash in from farther away to “kick the ball” back to the other side.
It’s a fun game once or twice, I almost would rather a limit on the monster – maybe one or two “bombs” a turn, but then it goes into hiding.