Hello all! TowerNumberNine here with more Star Wars Unlimited content for you all! The game has really been taking off and I’ve been having a lot of fun playing Draft events in my local area. Further, reports indicate stores are getting some limited restocks from FFG/Asmodee to support event prizing and drafting Spark of Rebellion, so today’s article will be dedicated to the different common leaders and how to draft them well! If you aren’t familiar with the draft format, my earlier article on Draft and Sealed play has the basics, as well as some general strategy — today though, we’re going to get into some more specific tactics!
Draft Tactics for Each Leader
In Star Wars Unlimited, different leaders require different approaches to the draft. In fact, one of the most relevant nuances to Star Wars Unlimited draft tactics is how the value of certain cards can change greatly based on your leader. This section discusses the different leaders you’ll find when drafting Spark of Rebellion (no Luke and Vader, sorry!) and what sort of tactics and cards might cater to them.
One important caveat is that there are two types of leaders in the game, common and rare. In general, common leaders are much more relevant to the draft format. The reason for this is simple — they’re much more likely to show up! Further, while rare leaders are not unplayable in draft (I’ve won a draft with Chirrut before, for instance), they often require somewhat more specific synergies than common leaders do, making them harder to build for in Limited play.
Thus, I will discuss these rare leaders in a separate article — for now, we’ll be focused on the common leaders that will be most of what you see when drafting Spark of Rebellion!
Drafting Spark of Rebellion’s Vigilance Leaders
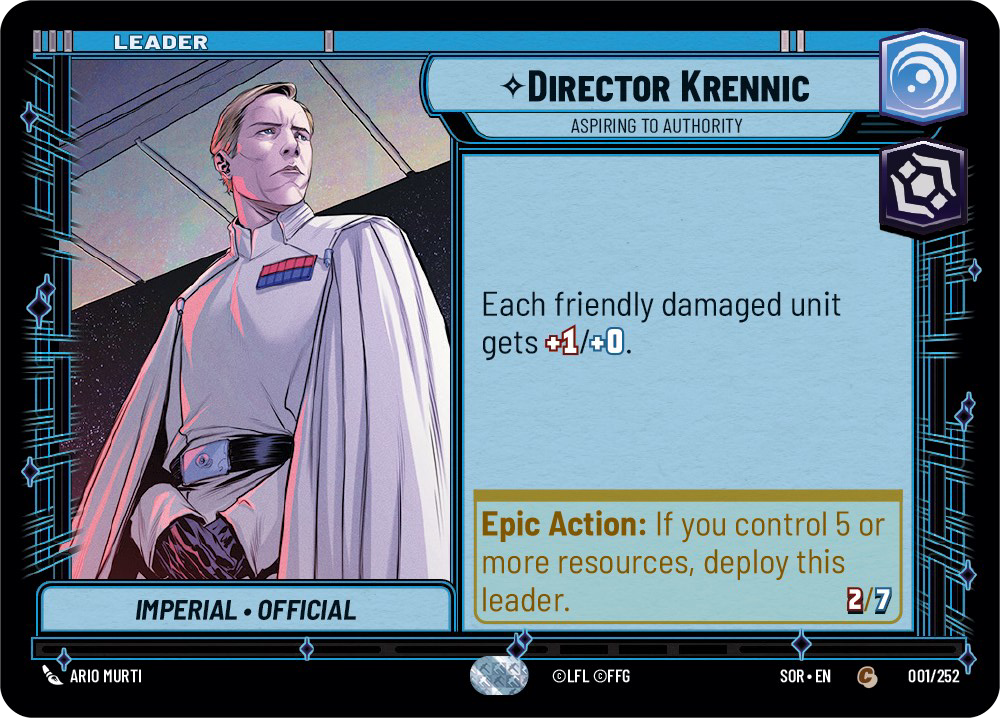
Director Krennic, Aspiring to Authority is a Vigilance/Villainy leader that benefits from having damaged friendly units. This means that he works best if you are able to draft units that have either a high base HP (making them more likely to survive at least one combat) and/or units that damage themselves, like Death Trooper or Fifth Brother, Fear Hunter.
Sentinel can also be a strong keyword for Krennic because it can force more unit interaction, enabling his buff if your Sentinel survives an attack. Additionally, Director Krennic’s Official trait means that Emperor’s Royal Guard is a much more reliable Sentinel when Krennic is in play. However, as a rare card the Royal Guard aren’t necessarily going to be seen that often, and I wouldn’t particularly lament if you don’t see one!
Additionally, Krennic’s major Restore on his unit side can help you get to the late game more reliably against aggressive opponents, but his own stats are not necessarily that strong for direct combat. This means that a Krennic deck might want to skew later-game than some others, with expensive units that Krennic can get you to more reliably and which make up for his lower board impact.
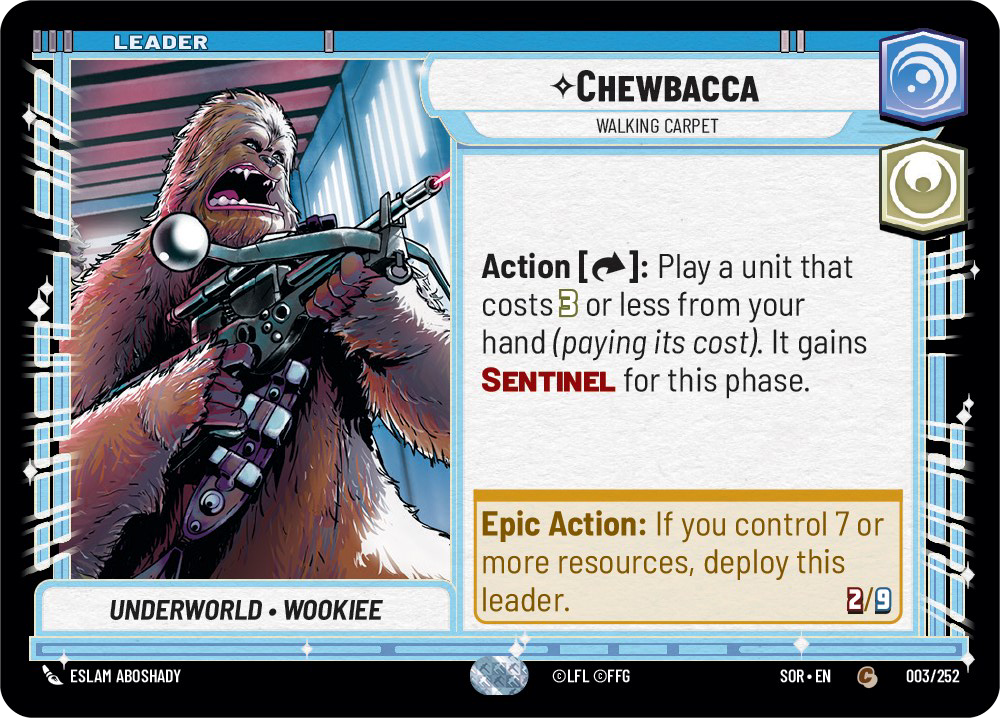
Chewbacca, Walking Carpet might be the most underrated leader in Draft. While early “tier lists” often ranked him among the worst leaders in the game when drafting Spark of Rebellion, I think that Chewbacca is actually very strong with the right build. In fact, I have won three drafts with Chewie as my leader, and one of those was where I was “forcing” Chewie without that necessarily being correct!
The thing about drafting Chewie is that he is basically a “bomb” on his own but deploys late — the difficulty is holding the opponent off early to get there! Chewbacca wants strong three or less cost units that can be used as temporary Sentinels to impede the opponent’s early offense.
One especially interesting option is Wilderness Fighter, whose high HP and Shielded can often absorb multiple attacks and can be made a Sentinel. Additionally, this card is generally fairly mediocre for other leaders, which means that Wilderness Fighter might be easier to draft than some other cards.
Additionally, Chewie benefits substantially from having access to upgrades, which interact very strongly with the Grit and Sentinel on his unit side. Even “basic” upgrades like Academy Training can be excellent when Chewie is your leader, and something like an Electrostaff can do even better!
Last but not least, Restore can be very helpful with Chewbacca in order to stave off early aggro and get you some more time for Chewie to take the field and take control. While that probably doesn’t mean you want to be playing cards like Regional Sympathizers (the stats are just too inefficient), units like Yoda or Restored ARC-170 can be great options. Yoda is especially nice because he also has great synergy with Chewie making him a Sentinel for a turn!
Drafting Spark of Rebellion’s Command Leaders
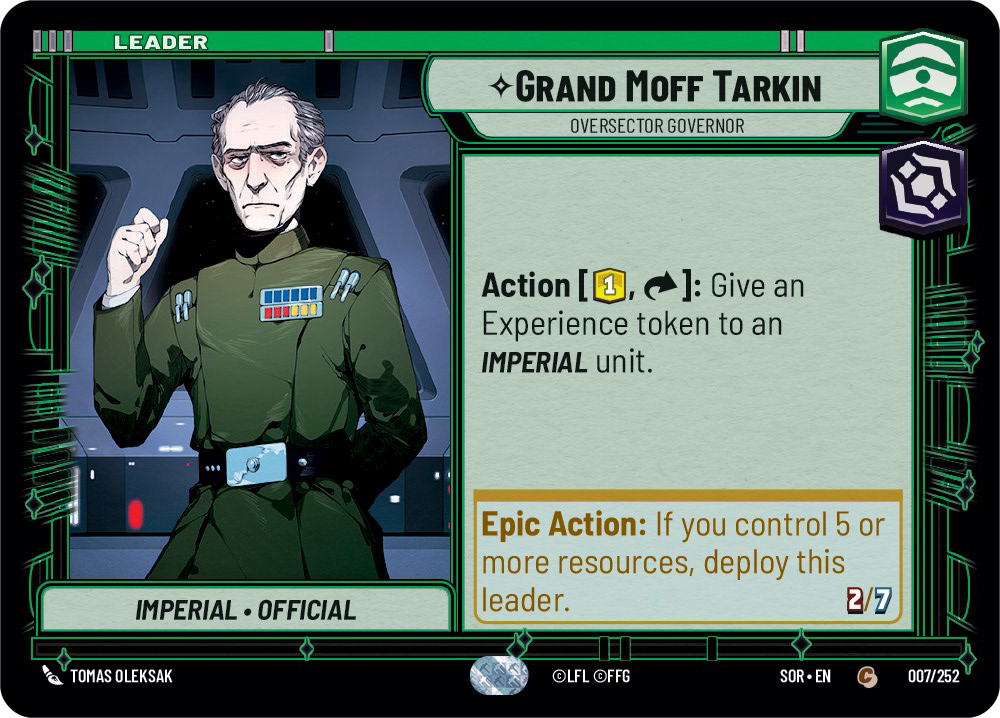
Grand Moff Tarkin, Oversector Governor can be a very strong leader with the right draft, but is heavily reliant on drafting Imperial units. In fact, Tarkin might be one of the most draft-dependent leaders in the game — with a bunch of Imperial units, especially cheaper ones, to back him up, Tarkin can be one of the scariest decks out there; without many Imperial units, both his leader and unit sides are far worse.
In general, Tarkin wants to take lots of Imperial units and lots of Imperial synergy. Ideally, a large majority of your units would be Imperial and you would have cards like Maximum Firepower to back that up. Further synergies like those provided by General Veers, Blizzard Force Commander can be especially handy as well, allowing you to capitalize further on your Imperial unit investment!
One special note is that one-cost Imperial units can be extra good with Tarkin, as his ability allows you to both play and buff these units on the first turn of the game! ISB Agent is a special standout, as is the basic TIE/Ln Fighter — and like Chewie’s Wilderness Fighters, neither of these units are often high priority picks for other leaders!
Like Krennic, Tarkin’s Official trait makes Emperor’s Royal Guard much more reliable with him — and as that card is also an Imperial, it can be a great target for his ability as well.
Last but not least, Tarkin’s focus on buffing existing units — often smaller ones, means that he can be extremely vulnerable to Traitorous. You may want to draft the card yourself at high priority if you see it (you can run it as a Command leader and taking it denies it to opponents), and upgrade removal might also be important to pick up, even if only as a sideboard option.
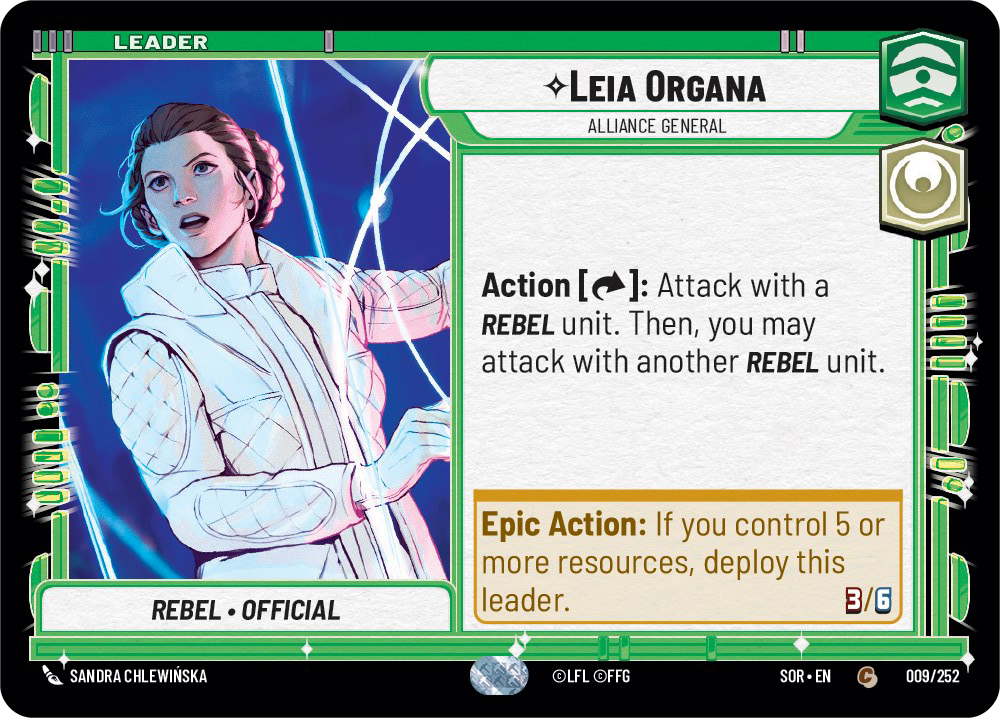
Leia Organa, Alliance General is similar to Tarkin in that both are Command leaders who have strong trait synergy. I think Leia’s power level is probably a bit lower than that of Tarkin overall, but she can still be very strong with a build that has lots of Rebel units to synergize with her ability.
In general, Leia tends to favor a more aggressive playstyle. Strong, cheap Rebels may allow you to aggro out an opponent before they get a chance to get to their later game. As a result, early aggressive units like Battlefield Marine or Sabine Wren, Explosives Artist can be especially strong choices.
Like Tarkin and his Imperials, investing further in lots of Rebels and Rebel synergy can be a good idea with Leia, so cards like Wing Leader and General Dodonna can be great picks. In general I think Rebel synergy is a bit stronger than Imperial synergy — which can actually be a problem! Other players perhaps aren’t as likely to be competing for the Imperial synergy Tarkin offers as they are to be trying to pick up Rebel synergy even if not playing Leia, which makes drafting a strong Rebel-based deck more difficult.
That said, if you do manage to pull it off Leia can be great! Her ability to use multiple units in one action can be extremely strong, especially in an aggro context.
Drafting Spark of Rebellion’s Aggression Leaders
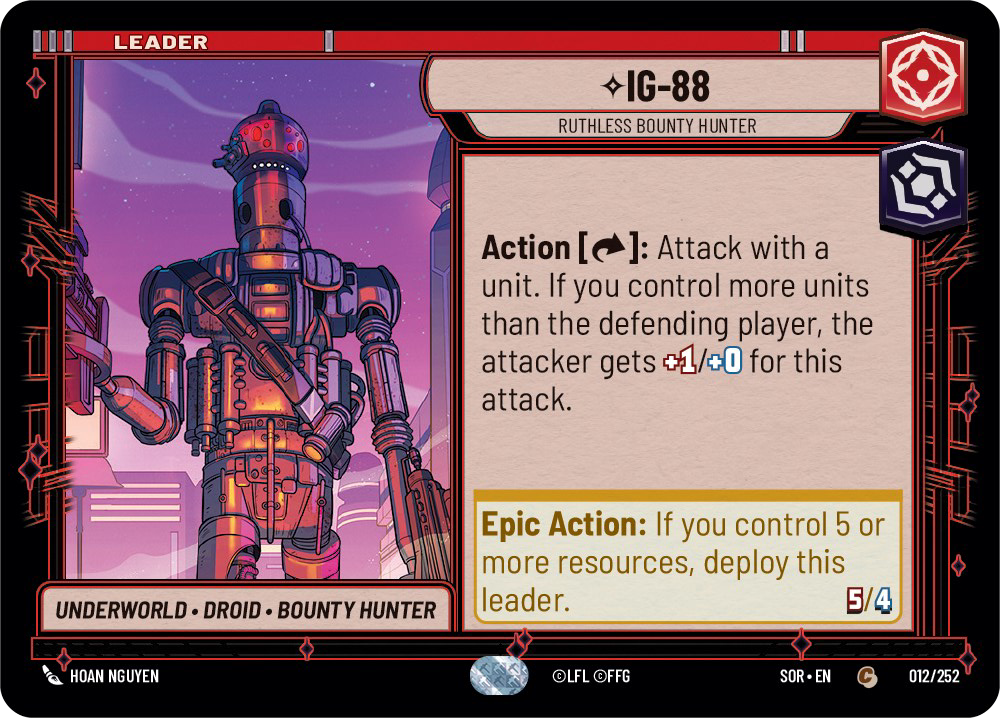
IG-88, Ruthless Bounty Hunter is typically considered the worst leader in the game in Constructed. In Draft, he isn’t necessarily quite as weak, as the scarcity of removal means that the opponent is less likely to have a card that can immediately kill IG-88 when he deploys. However, I still tend to think that IG-88 is a weaker leader in draft.
That said, it might be that IG-88 is still the best leader to draft for your particular position — for instance, maybe you have IG-88 and two Heroism leaders but are constantly getting passed strong Aggression/Villainy cards! If you do end up drafting IG-88, I recommend going for cheap, aggressive units to try and overwhelm the opponent quickly — though to be honest I am not as experienced with this leader than most others and there might well be nuances to playing it that I don’t understand!
If anyone has more specific IG-88 tips feel free to make yourself heard in the comments below — I welcome more input on this leader as it’s not one I would consider myself an expert on at all!
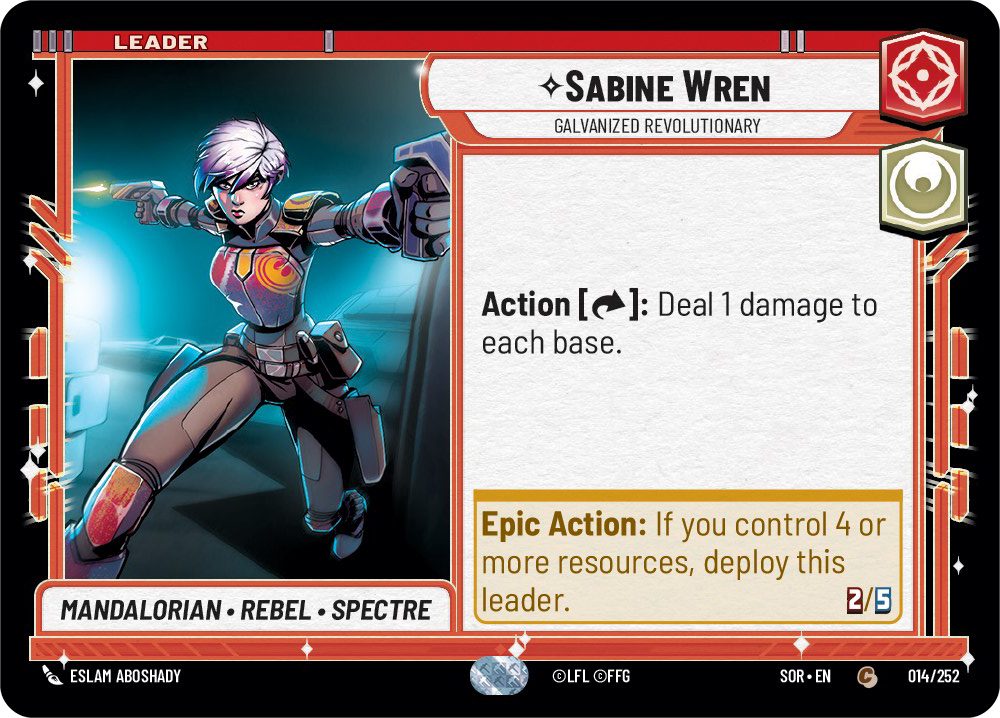
Sabine Wren, Galvanized Revolutionary is something of a terror in Constructed play, representing probably the most effective aggro deck in the game for set one and something that can be extremely difficult for unprepared opponents to deal with. When drafting Spark of Rebellion, I don’t think she’s quite as strong as in Constructed but she can still work very well.
One of Sabine’s main strengths is that she deploys before any other leader in the game, allowing her to get an early power spike and pressure the opponent’s base. This, as well as her leader ability that damages both bases, pairs well with aggressive decks that want to close the game early. Sabine is definitely a leader that “skews aggro” and cheap aggressive cards are good picks with her. Fittingly, “small Sabine” (Sabine Wren, Explosives Artist) works great here!
Upgrading Sabine can also be a way to present a big problem for many opponents. Upgrades tend to work best on leaders because that way they can’t easily be defeated by the various removal/disruption cards that don’t work on leaders — and while some leaders can be targeted by strong units or similar once they deploy, Sabine’s early deployment timing makes her more resilient to that. Thus, cards like Wing Leader can be excellent to boost Sabine herself.
Drafting Spark of Rebellion’s Cunning Leaders
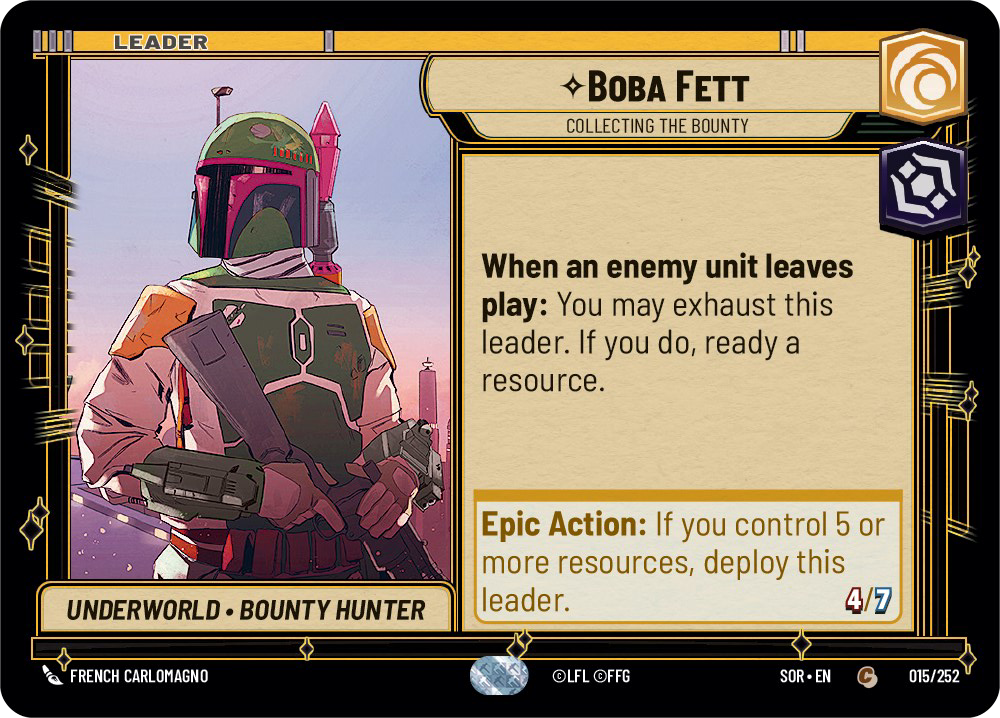
Boba Fett, Collecting the Bounty is a very strong leader on his base stats alone — as a 4/7 leader that deploys on only five resources, he offers the most efficient stats of any leader in the game! Boba is not as reliant on drafting specific types of cards compared to some other leaders and can thus be a pretty strong pick for a wide range of scenarios. That said, I think his efficient stats perhaps go best with an aggressive playstyle.
One other note for Boba is that it may be worth including somewhat more cheap cards than normal so that you have things that you can use his ability with — this also fits with the “play aggressively” idea by giving you more cards that can put pressure on the opponent early. Shoot First is an especially good card for Boba because his resource return ability can make it so that this card is essentially “free” if played early, allowing a powerful effect that doesn’t force you to play off curve.
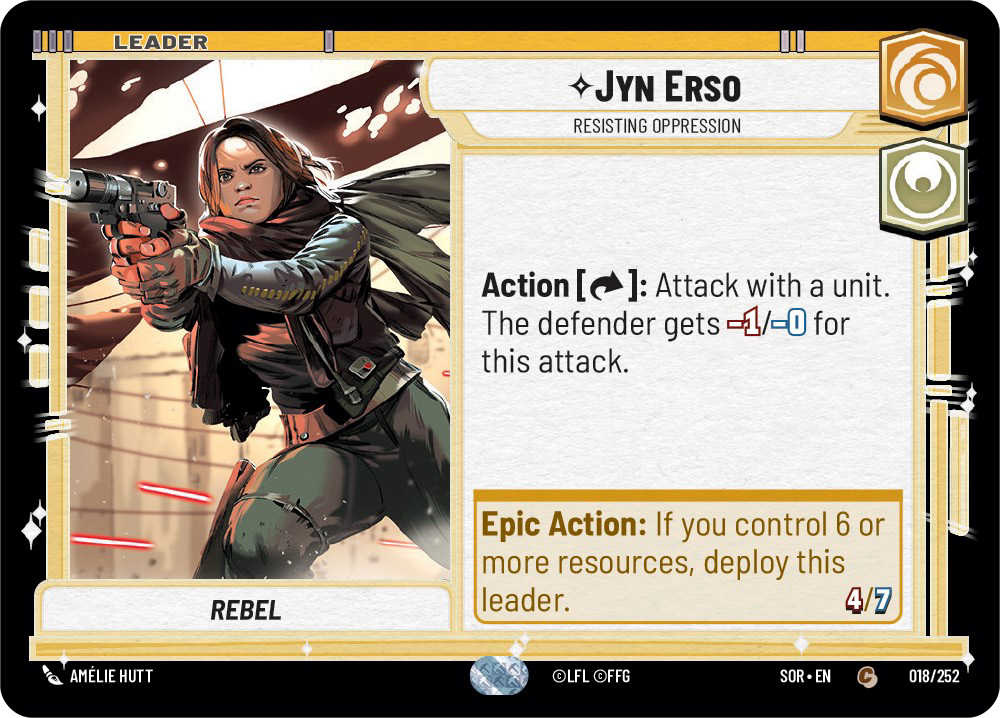
Jyn Erso, Resisting Oppression is one of the strongest leaders in Limited play, with her ability offering high ability to take good trades and gain the advantage in unit combat. Like Boba, Jyn does not really require a specific sort of synergy or support card to do well. However, she may do well with somewhat more “defensive” and lategame play, since her ability encourages unit combat rather than putting pressure on the opponent’s base.
While Jyn’s leader ability does not work with Ambush units (since you need to take a separate action to use the ability and Ambush units deploy, ready and attack in one action), the similar ability on her unit side does work with them. In some cases this means you may want to deploy Jyn before an ambusher, though this depends on situational factors.
Since Jyn herself is a Rebel, she benefits from Rebel synergy cards — unlike Leia though, she is much less reliant on these synergies so shouldn’t despair if unable to find them. That said, it can still be highly relevant to pick up these cards, especially if you can draft a fair number of Rebels to go with them.
Wrapping Things Up
That’s going to do it for this one — hope you enjoyed seeing some thoughts on how the different leaders can play when drafting Spark of Rebellion! We’ll be back later with some more Star Wars Unlimited content, including a look at how the rare leaders play in Limited and more — and once the time comes when new releases arrive and drafting Spark of Rebellion is no longer the “done thing,” I hope to produce similar material to help players approach future sets!
