
In this article we’ll look at making forest style area terrain from scratch.
It would seem that I’m the gal you call when you are wanting a Star Wars Legion tournament to happen on the Mississippi Gulf Coast. I’ve been running Legion tourneys at cons for a little while now and it was no surprise when my old friend Tim contacted me to run one at his Hubcon. Hubcon has a very special place in my heart. I was there at its inception in the early 90s, helped plan it and learned a great many new games while I was there and in the many years following. I discovered LARPing, The Hunt, and several others forgotten to time.
But I digress.
What is it We Need?
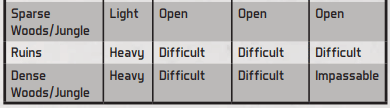
Normally, our FLGS very kindly loans us some of their terrain to use at events such as this, but a Warhammer 40k event was being run at the same con, supported by the same store. I was only given about two weeks notice before the event and they got there first, so terrain was going to be a bit limited. I have several tables worth of terrain already, but I knew I would need at least one more. A lot of my terrain is line of sight (LoS) blocking, so I really wanted to add some area terrain to the mix. For this, I absolutely love trees! In Legion they can be both Sparse and Dense woods for light and heavy cover respectively.
Planning Ahead
When creating area terrain such as this, you want to leave enough open space for your miniatures (and your hands) to move through without difficulty. What good is cover if you cannot use it properly? To that end, you also need a large enough base to start with. I suggest 1/8” (sometimes ~3mm) MDF (or chipboard, but this can be more fragile) board to start with, it’s cheap and readily available in most hardware stores. If you don’t have a jigsaw or coping saw of your own, there are a few places that custom cut MDF board for you or you can buy it precut, but they are few and far between, and not very inexpensive. There is absolutely NO shame in having square tree bases especially if you’re starting out.
As seen in my previous article, I used Woodland Scenics Ready Made tree kit for my existing trees. They are just like it says on the tin, ready to go out of the box! They can be a little pricey, but with Michael’s almost always having sales, they weren’t too difficult to collect a few packs. I went a step further and magnetized them to the bases so that they could be removed for storage and ease of movement. They’ve been around since around 2007, so they’re definitely durable, though they could use a little sprucing up.
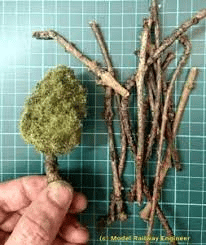
For the ultimate cheapo terrain, just grab some twigs out of the yard, spray paint some cotton and hot glue it all together. Add a layer of flocking for some pop. Don’t knock this method, it’s very valid. The only downside is that the twigs tend to be fragile.
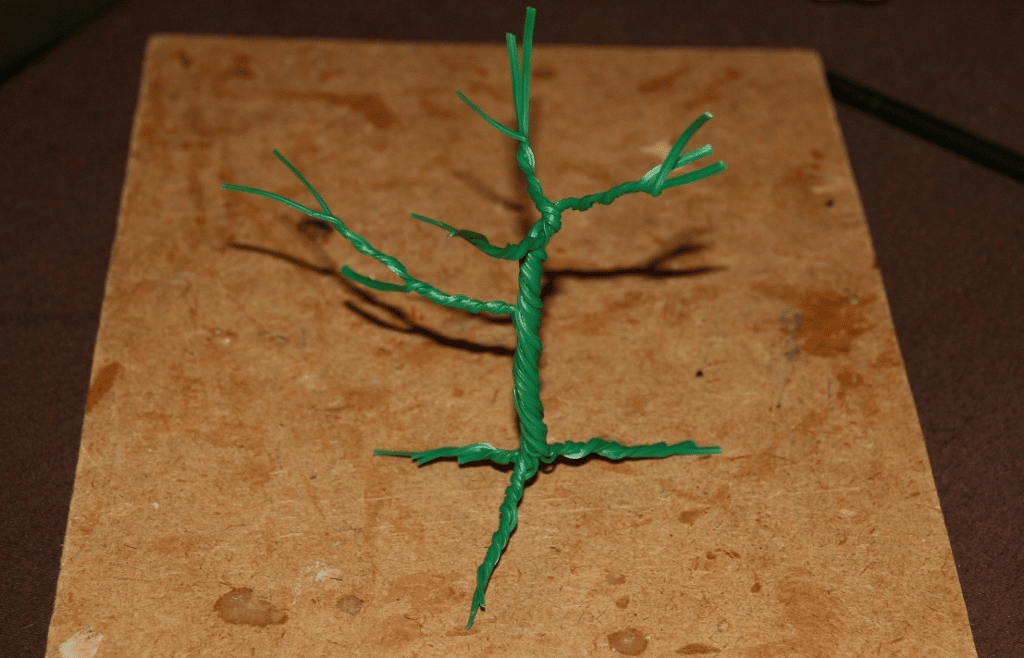
If you want some more realistic looking trees, have infinite time and patience and a bunch of wire, you can make some twisty wire trees. These wind up looking great if you invest the time into them.
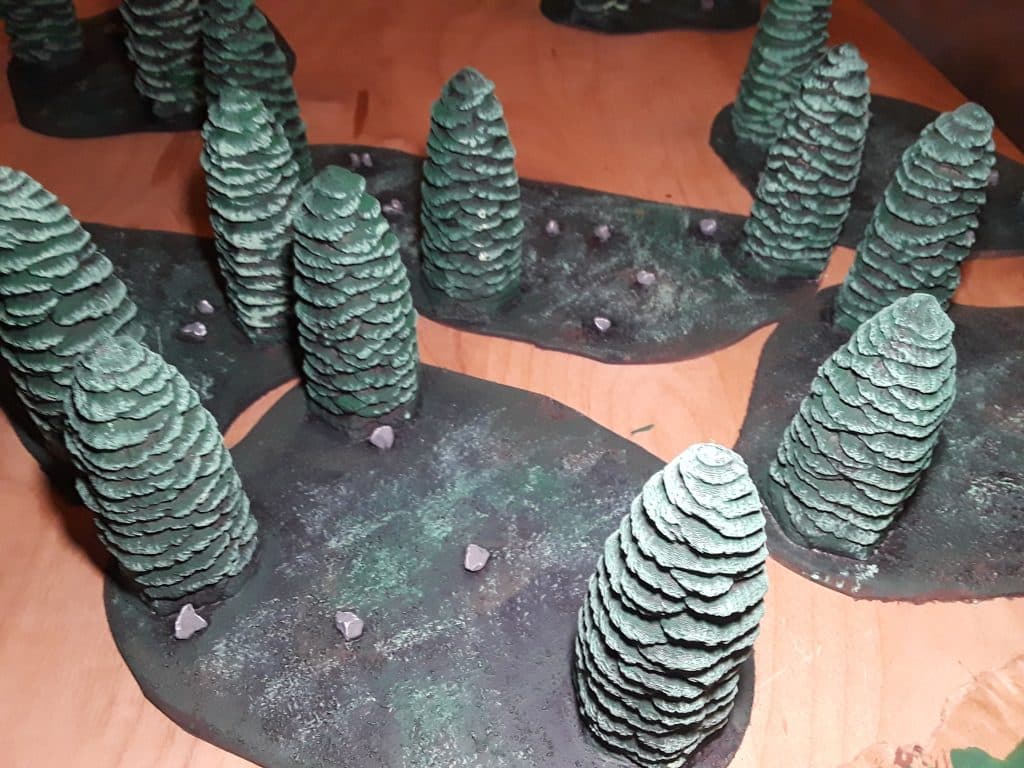
As previously mentioned, I didn’t have that kind of time. What I did have, was a 3D printer, an old addiction to Heroscape and the hope and excitement that was recently stirred up by a revival of that title. Having dipped my toe into that world once again, I found that the ‘Scapers haven’t been idle since the game had ceased production. They had been producing minis and cards and terrain in 3D printable form. One item in particular were the Evergreen Trees from the Forgotten Forest expansion. I loved that expansion and had a couple, but wanted more, so I had already downloaded them and having discovered earlier that they were separate from the hex bases, I knew I had my trees!
Getting it Together
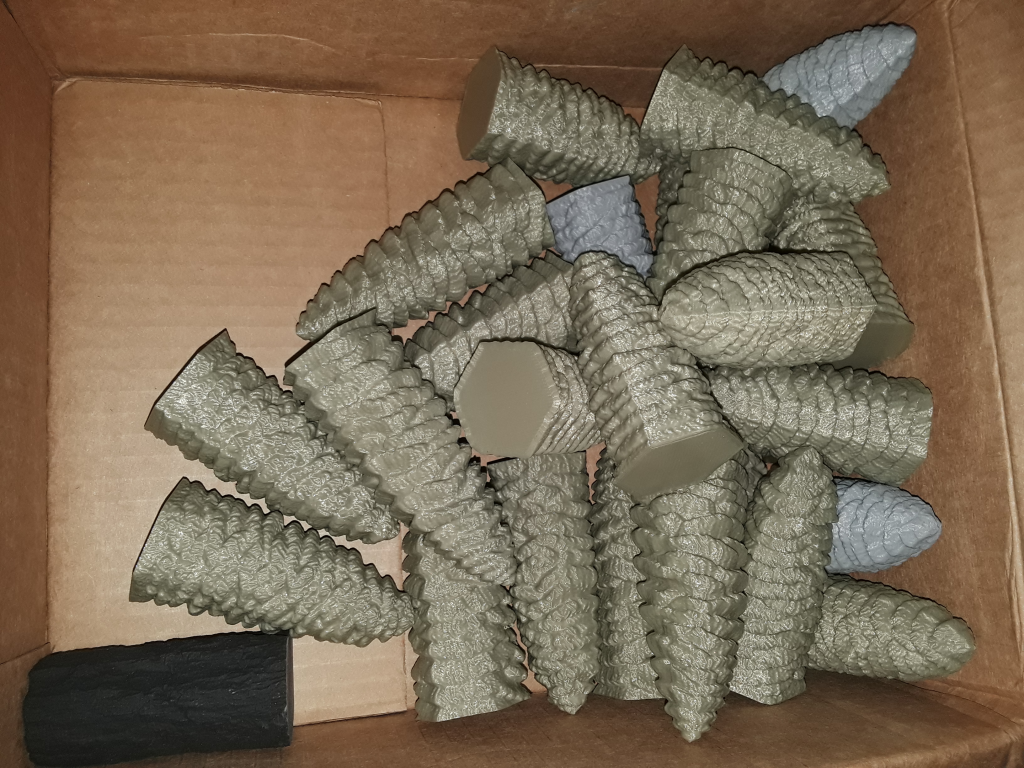
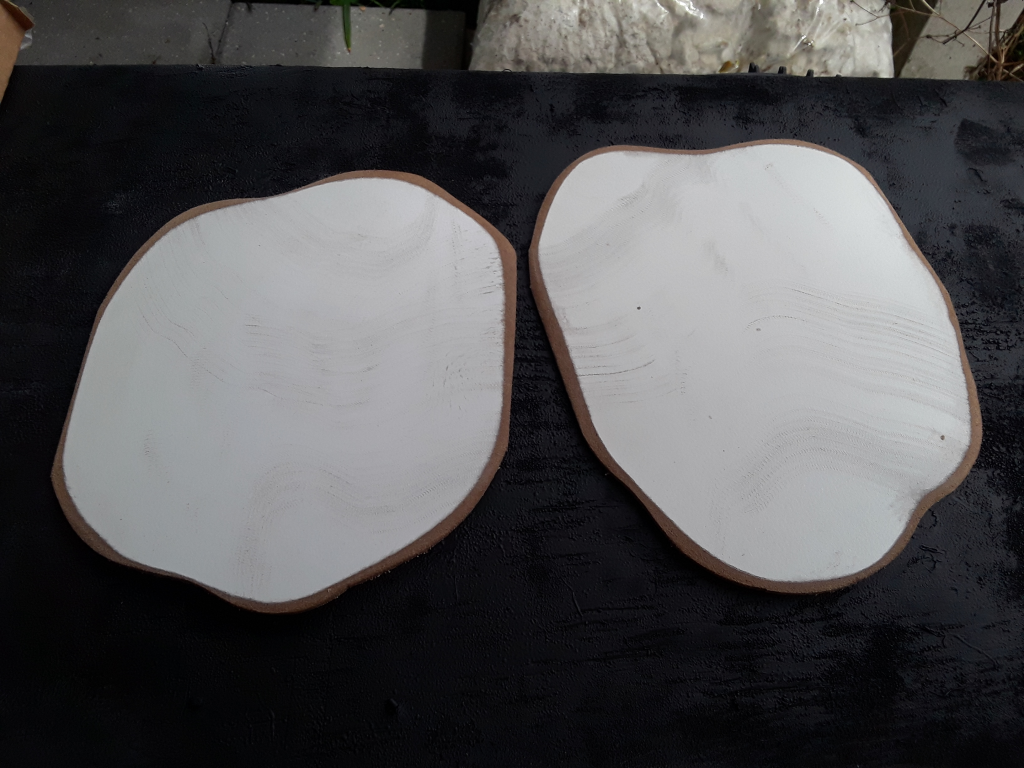
Armed with a fresh roll of filament, I set about printing trees in batches over the next few nights, tossing them in a box in the morning (no supports needed!!) and repeating the process any time I was out of the office. After several days, I had a nice little batch and set about cutting my tree bases with my handy dandy jigsaw. I opted to make my bases 7-9” around, irregularly shaped with enough room for 3 trees each. Because I’m a little bit extra, I also used a sander to bevel the edges. This is entirely optional, but I like a smoother graduation in my terrain bases. I also give the top of the base a pass with the sander just to give it some texture for adhesion purposes. My pieces are chipboard backing pieces from shelving units and have a finish on the flat surface, so I felt this helps my glue and paint stick.
A note on glues – For my terrain projects I use PVA (polyvinyl acetate, for those curious) glue. I occasionally use wood glue but most of the time I use Elmer’s Glue All. It’s easier to work with and clean up than wood glue (which is stronger) and is stronger than the School Glue. It works best if you put a little pressure on your items for 20-30 seconds. Longer is better obviously and if you are mass producing terrain, and it has a level top surface, you can stack them and put some books on the very top. If you are gluing foamboard together, straight pins are your friend – use them as nails to hold your edges together and just remove them later.
Finally, We Build
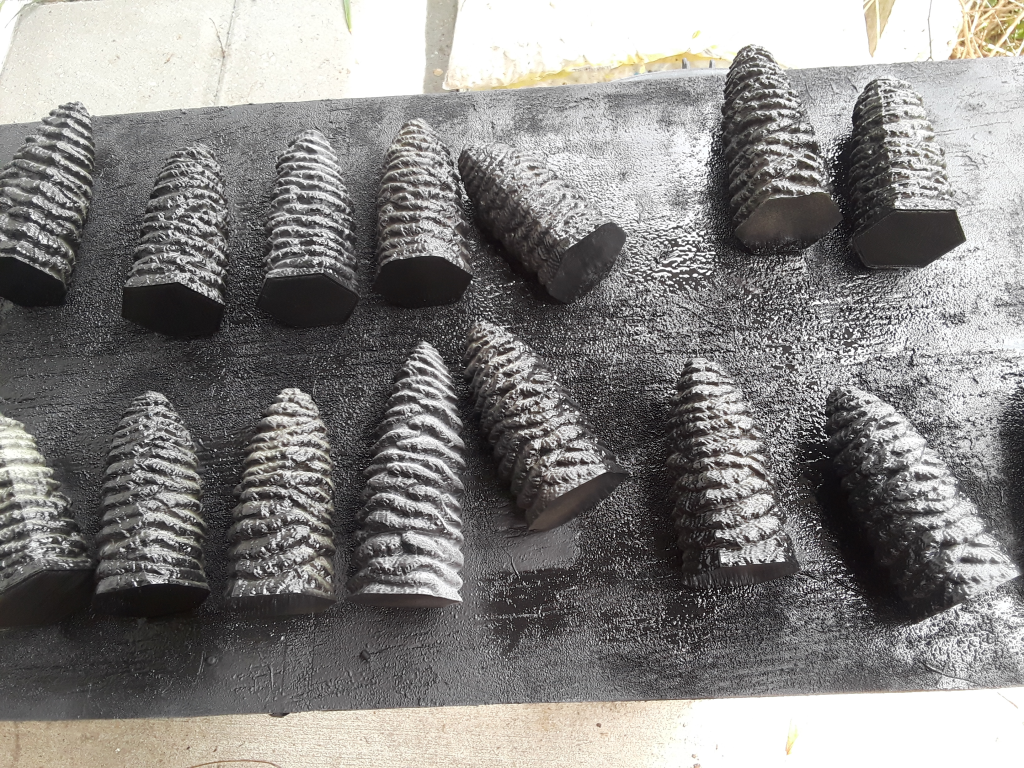
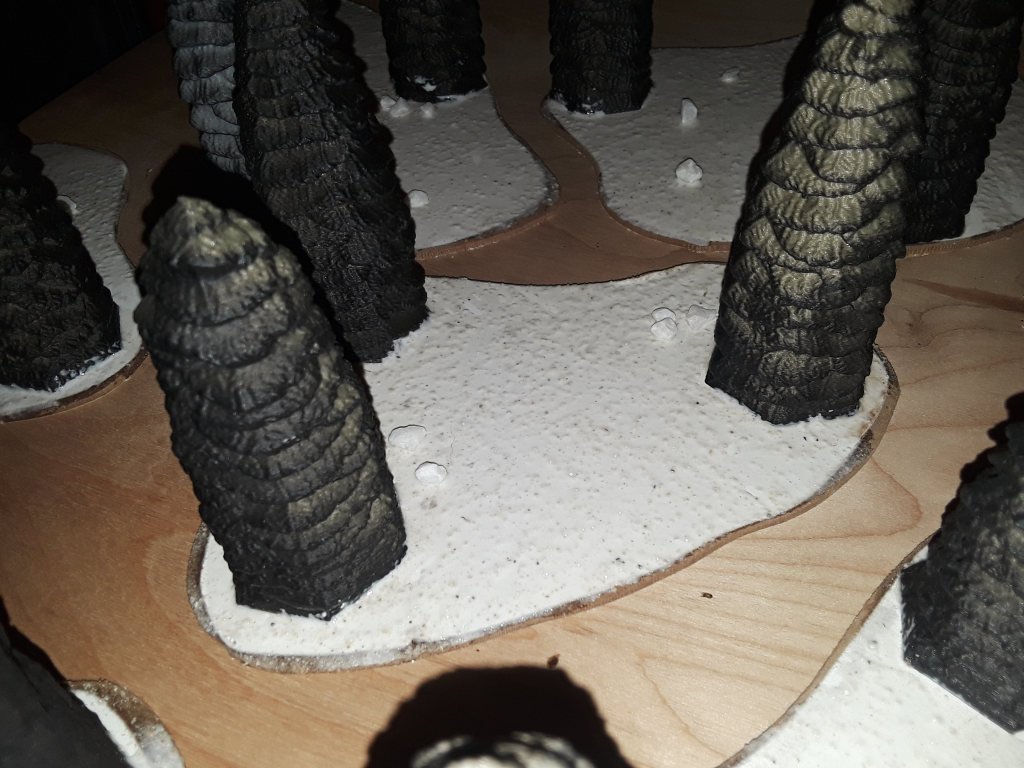
Because the trees have a lot of undercuts, I primed the trees before assembly, but only from the bottom. I placed them on their sides and gave them a couple of passes, one from each angle, so that the spray got the undercuts nice and black. This was pretty important for the look I wanted later. Since I needed to prime the bases as well, I decided to get the rest of the trees after gluing everything.
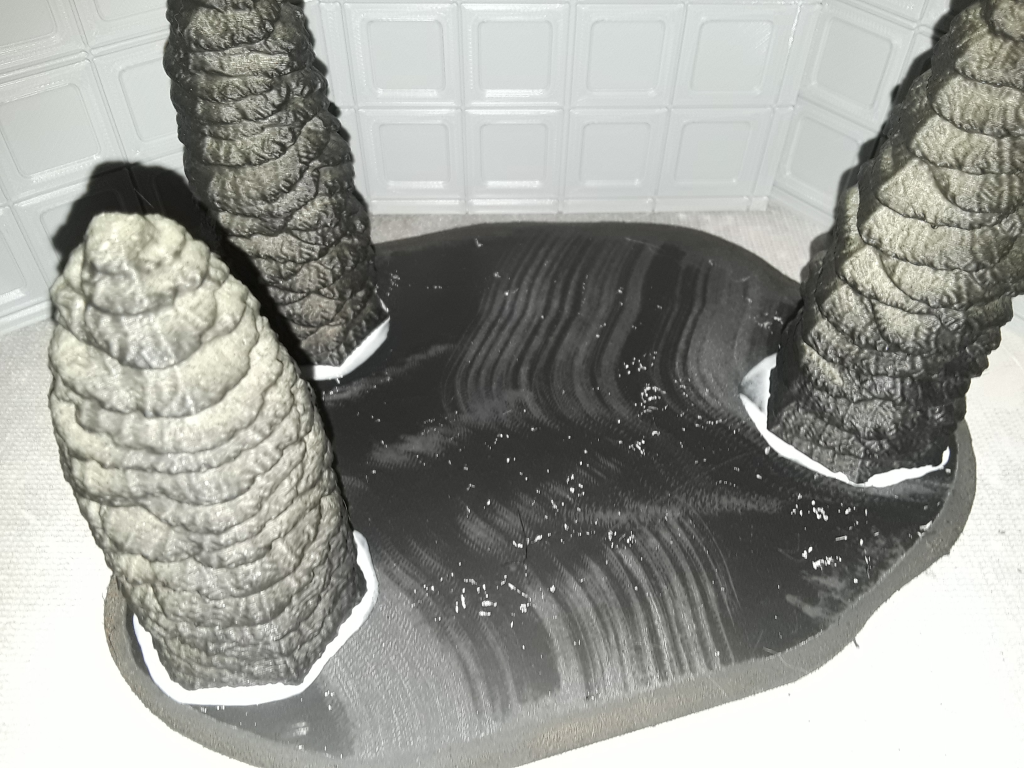
Once dry (I gave it most of a day in front of a fan in our shed), I glued, using plenty of glue, my trees to the bases in threes. I made sure to do this on a flat surface so I could hold them for at least 30 seconds. I tried to put them on the farthest points from the center of the base. A couple of the smaller pieces only needed a pair of trees. Your own mileage will vary. I’ve found that this method (for me and my group) best conveys “this is an area of trees” and still allows for plenty of room to move into and through them. I have certainly seen some great tree terrain that just didn’t have any allowance for miniatures, and that was unfortunate. I am now, as of this writing, considering making some standalone trees (on small bases) to use as filler for the area to convey Dense Forest area.
At this point the team was joined by my wonderful Wifey. She helped me a great deal with this project, but in return, I will need to make some more Endor-esque terrain for her Ewoks once they arrive.
Again, allowing 12 hours for the glue to set, we set about with the next step. This is optional of course, but I feel that it gives you another satisfying level of detail that works for stony ground, concrete, grass, desert or snow. I think the only terrain type I’ve found that this doesn’t work well with is a crystal/glass surface. Make a mixture of glue, water (2:1 to start with), fine sand and a few drops of dish soap. You’ll have to adjust your mixture to your own preference, since the type, consistency and amount of sand can make difference. You want a soupy, slightly gritty mixture that’s going to give you a nice even cover when painted on. You can add paint to this mixture if you like, but since I was priming the trees again, I chose not to do so. Just cover the whole base and set this aside to dry (in front of a fan helps a lot). If you are finding that the mixture is pulling away from spots then add a little more dish soap. This step doesn’t require quite as much drying time, but it won’t hurt. If you’re using Glue All, you can actually see it turn clear when it’s dry.
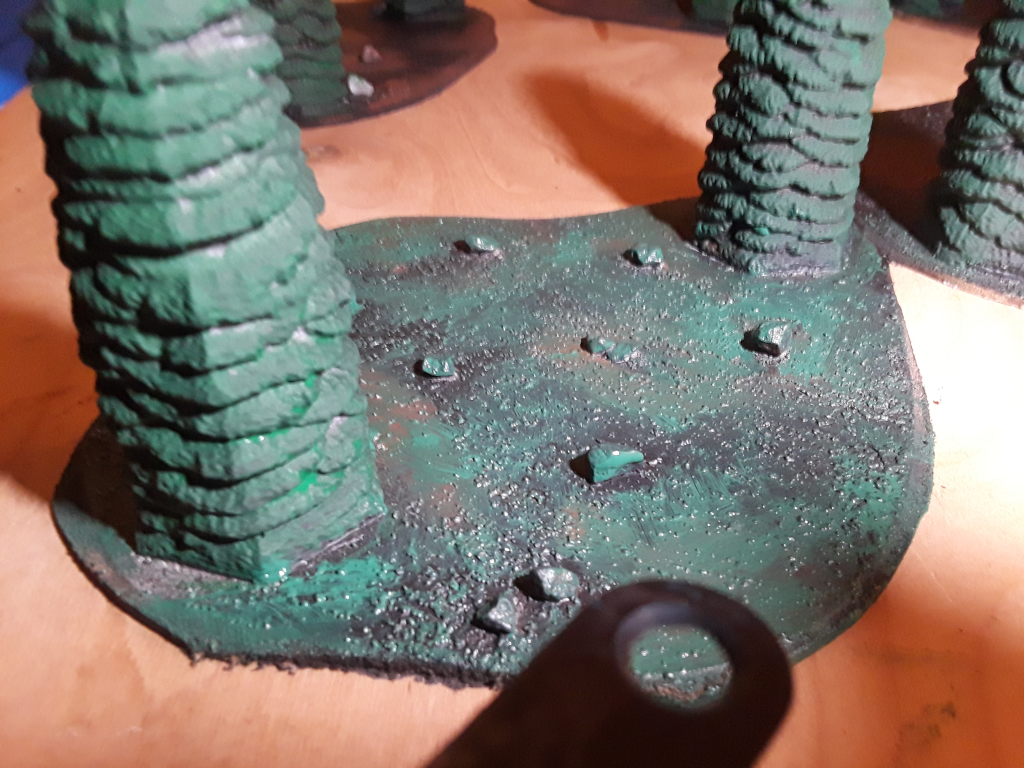
Optional: We also glued some loose rocks down during this process.
Once again we found ourselves outside, priming the pieces. I wasn’t as careful with the coverage this time, since I was going to be covering the tops of the trees with a couple of layers of paint. I did make sure to get a decent cover on the bases, since we want the black gaps in the texture to show through. A bit more drying time in front of the fan. Time was getting short, I think we were at 36 hours before the tournament.
The Painting Part
The trees were painted with a Christmas Green (mixed with some black or brown) and the bases with Territorial Beige and then Hunter Green all in an overbrush method. If you aren’t familiar with overbrush, it’s similar, but opposite of a drybrush – you knock a little bit of paint off rather than most of it so that you get more coverage with minimal gaps and spaces that are left to show the undercolor, whereas a drybrush is very little paint left on the brush with maximum undercolor showing. As always, you can go with your own level of detail and effort, but I love the overbrush style. It’s a way to get some detail with minimal effort, and that lets me get minis (and terrain) on the table as fast as possible.
The next layer was a drybrush Light Leaf Green on both the trees and the base. Bring the brush downwards on the trees for the best effect, but it doesn’t hurt to go both directions as long as it’s a standard drybrush. I don’t recommend going side to side on the trees though. We had a few instances where we went a little too heavy on the drybush on the base, but this was easily corrected by some stippling of the Hunter Green to cover it up.
Next we painted the stones a Pewter Grey (I love this color so much and actually use it for my Imperial vehicles) and then highlighted with white. All paints used are just Apple Barrel craft paints. When you’re making whole tables of terrain, these paints are really great!
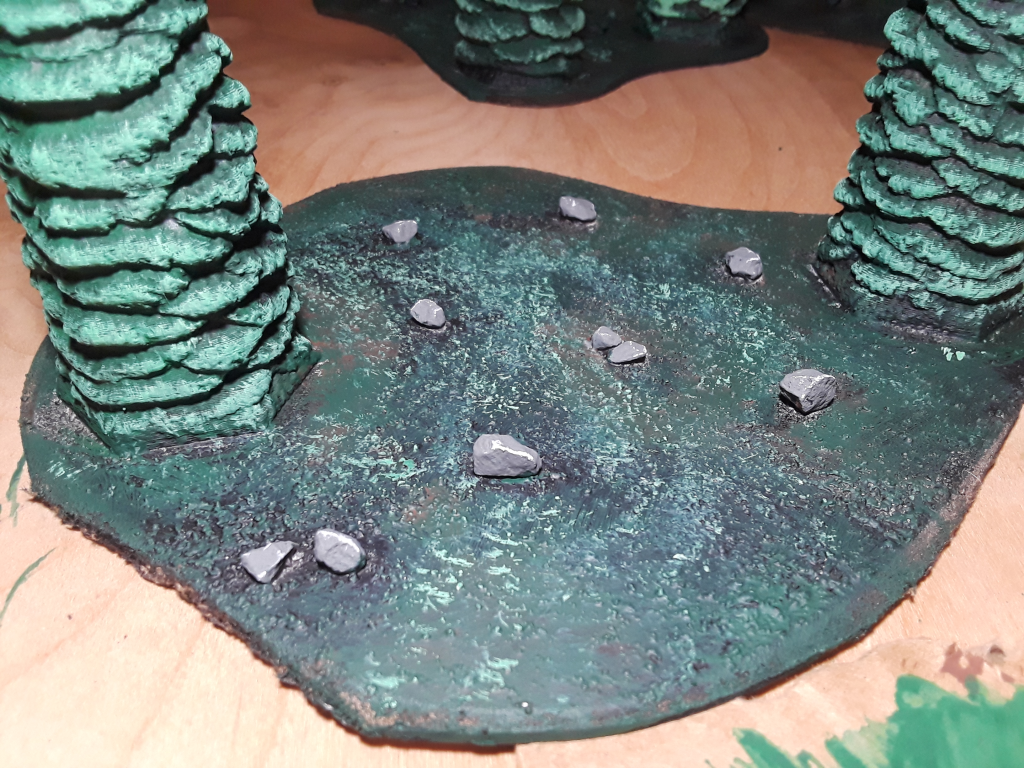
You can go back with washes if you like and we discussed putting some flocking around the bases to further supplement the forest-yness of the piece, but in the end, we decided that because of the constant storage, transport and usage that these pieces were going to get, that simple is better, and we just felt they looked good as-is!
Reflection and Looking Ahead
In the end, we wound up having more than enough terrain. The T.O. of the 40k event just took all the terrain from the LGS because he knew I was going to need some as well and wasn’t exactly sure what I wanted. Thank you again, Jerry for looking out for an old lady!
After seeing some of the trees on a Hoth style board, I’ve decided that I’m going to need some Christmas tree style painted pieces, so those will be happening in the coming months I imagine. I am pretty flush on terrain right now, having 5 tubs full of stuff. My current need is mats, I only have two myself and both are forest themed (imagine that). I have a set of desert terrain that really could use a compatible mat, especially since I’m considering this as a basing theme for my Shadow Collective. The LGS has a snow mat, but I think I may need one of my own as well, since Wifey’s Rebel army bases have a snow element on them. Good thing we know where to find those!

