
We’re taking a look at building terrain from things you may have around the house.
When I first started wargaming, I was introduced to a bunch of historical gamers and a handful of Battletech fans. There was not much in the way of terrain kits, and even Games Workshop scratch built their terrain. There was no real internet to speak of, so we learned and shared knowledge. White Dwarf magazine often had instructional articles and occasionally a cardstock punch-out. It wasn’t always gorgeous terrain, and it was definitely a labor of love. But it almost always assured that every piece was unique.
In an era of easily accessible 3D printed and pre-cut terrain, I bring to you some old school how-to!
Phase 1: Collection
Almost everything is valid for becoming terrain. Cans, styrofoam, PVC pipes, electrical boxes, balsa and foamcore are things I’ve used a lot. Those are all great for a base of terrain, but it’s those bits and bobbins that can really make a difference. Those odds and ends like buttons, bottle caps, straws, old gift and credit cards, and other trinkets can make for great add-ons to your piece and make it look a lot like a box painted with texture and an interesting little building that those stormtroopers need to investigate.
While this is about creating terrain from ‘scratch’, you can find a lot of 3D files of ‘greeblies’ that work very well with this sort of terrain building.
Phase 2: Gather Your Resources
For your most basic builds, you can get away with a decent PVA glue (Elmer’s Glue All is the best), some type of texture, like sand, a hobby knife, straightedge/ruler and some paint (craft store paint is perfect for this). You can make a lot of variety with just these resources and plenty of effort.
If you want to make a hobby of this (see what I did there?), the sky is the limit. Some of the tools I personally have for this are here: Your own selections may vary.
Foam cutters – Styrofoam and insulation board is best cut with a hot wire.
Circle cutter or a compass – Hand cutting a circle is a super difficult task.
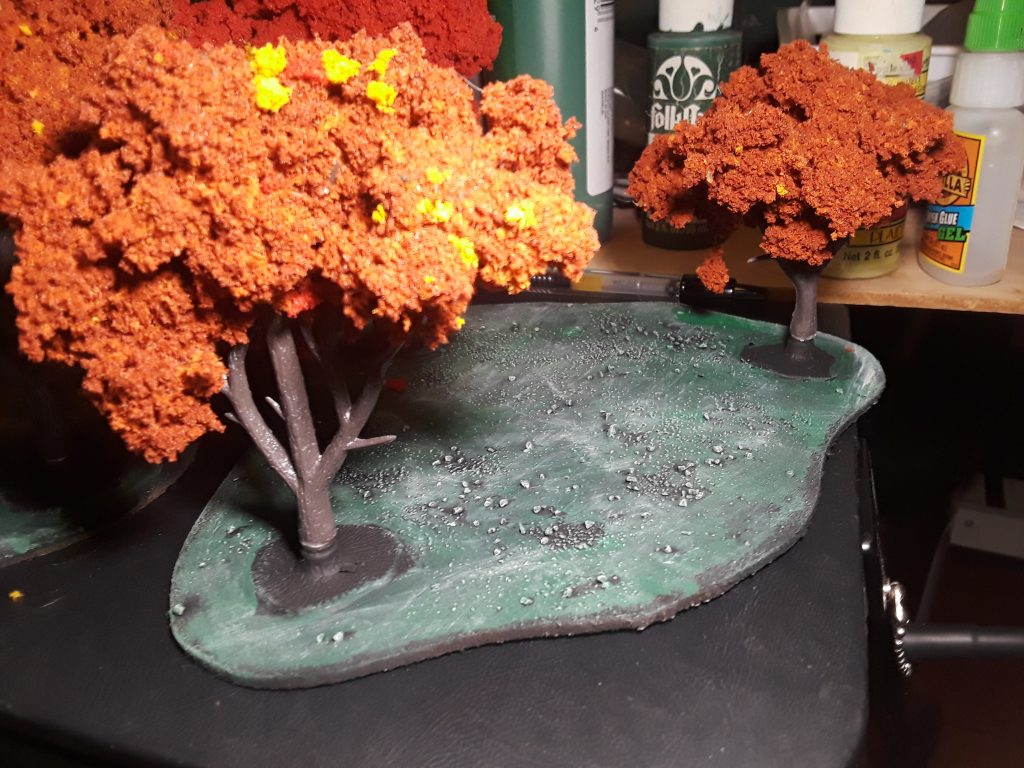
Wire cutters and wire – Floral wire is really handy for holding things together, making barbed wire or fences or using for a base for organic structures like trees and vines.
Wood burner – You can decorate your bases with cracks or ancient glyphs.
Saws – Hand cutting your base piece is not for the faint of heart.
Phase 3: A Good Base
Your terrain piece almost certainly will need a base. Often it will be needed for structure – just holding things together, but sometimes you will need a footprint for defining the area terrain, if you are running it as such. MDF is my favorite choice for this, and nothing over 1/8” in thickness. You can purchase small pieces (2×2’ or 2×4’) from a hardware store such as Lowe’s. There also are a few websites out there that will let you order precut packs. There are other materials you can use, but it should be rigid and not too susceptible to warping. Cardboard is definitely something to avoid for this reason.
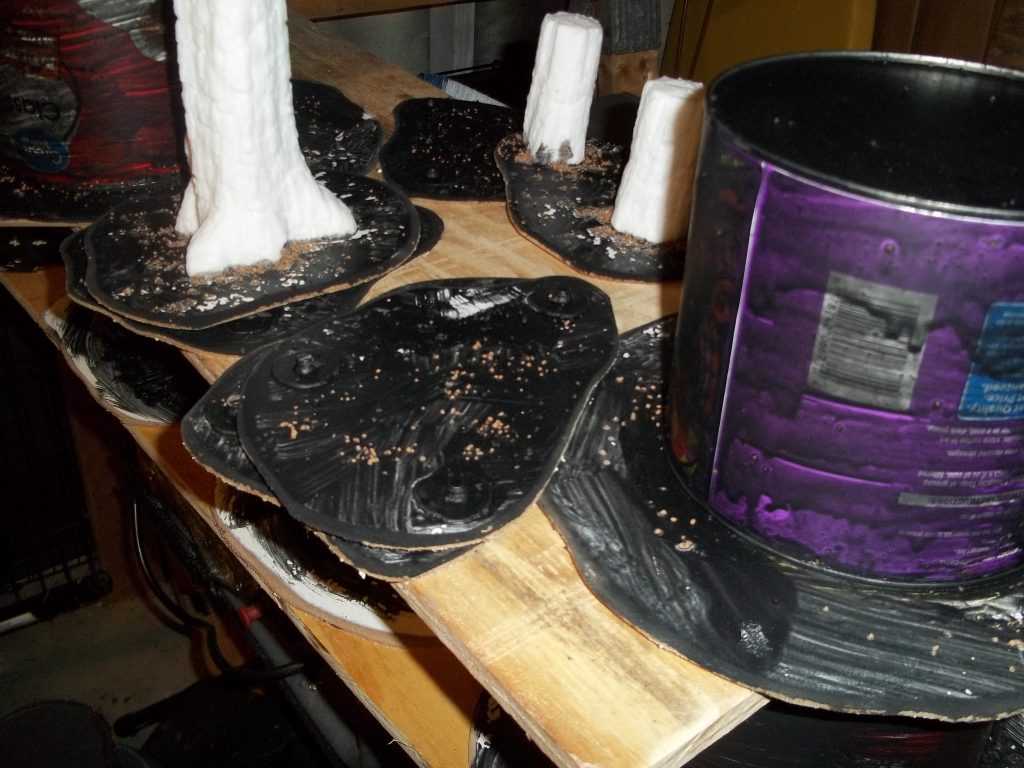
To cut it yourself, you’ll need a jigsaw or a coping saw so you can make those squiggly turns if you are making nature based terrain. For city/ruins type terrain, a straight cut is fine (table saws do that well). I highly recommend making your terrain bases in batches. Most of the time you’ll have a terrain piece in mind already and have dimensions, but other times you can take a piece of base and just start building and see where it takes you.
Phase 4: The Build
Your basic builds are those objects that translate well directly into buildings. The basic electrical box, for example, is an excellent small to medium sized piece and a line of sight blocker. They’re cheap and easy to obtain, and do not require much prep work beforehand. Removing any labels and some light sanding should be plenty to help break up the glossiness and assist with the paint adhesion.
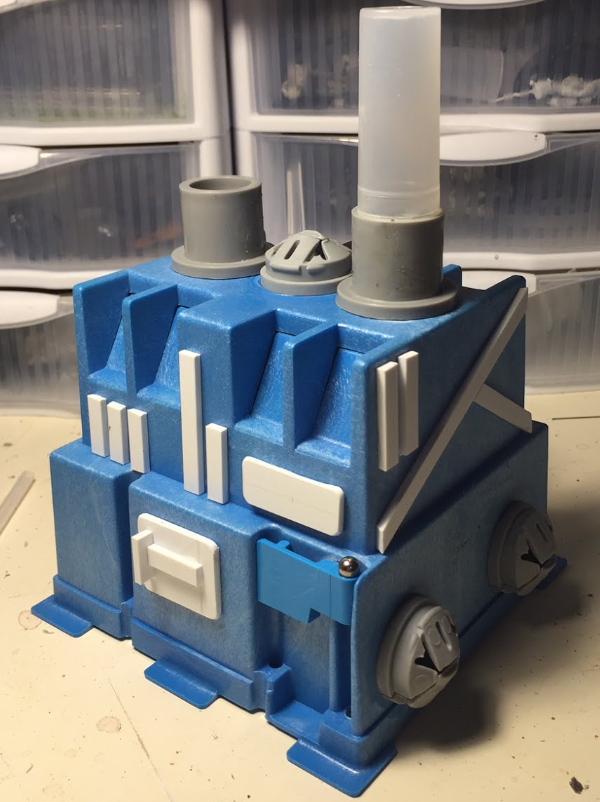
After you prep your piece, glue it to the baseboard and let it dry. Once dry, you can then glue on your bits of choice to create the look you want. Cutting strips, squares or other shapes from plasticard or old gift cards is a great way to do this. Other objects, like straws, small hoses and wires can bring a lot of variety to your different pieces. Don’t be afraid to be adventurous!
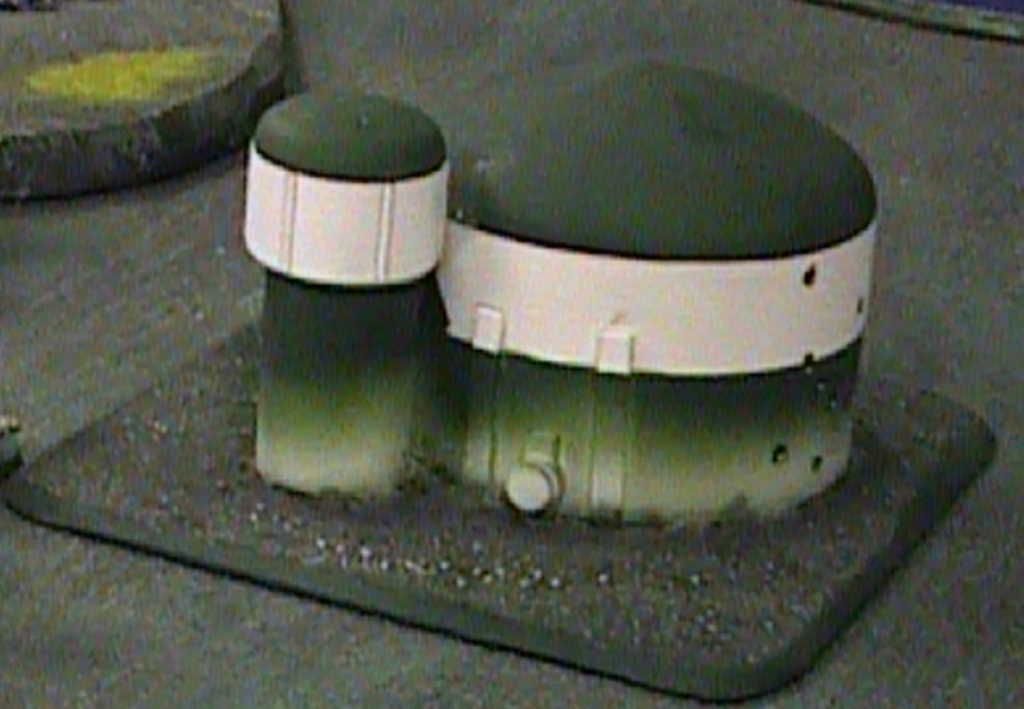
You can texture your base or even the entire model. Mix some PVA glue with water to a soupy consistency. I like to add a drop or two of dish soap into the mix to break the surface tension and help it spread. Paint this mix liberally on the surfaces you would like to texture, then sprinkle some sand over the paint (you can also mix the sand into the glue-water mix to get more adhesion and depth). If you are working with styrofoam or insulation board, you may want to do two or three coats of your glue-soup. Let this dry thoroughly and shake off the extra sand before priming your piece. I prime my pieces in black most of the time. After the prime, I overbrush my piece with my first layer then follow it with a drybrush of a lighter color. You can then add some touch up paint to your various bits to add some color and punch to your piece.

Conclusion
This is just a quick rundown on how to make some quick and easy (and cheap) terrain for your table. You can always go as detailed and complex as you like. I’ve definitely gone so far as to put LEDs and a fan in a piece of terrain before. If there’s interest, I’ll be happy to produce some more detailed articles along these lines for specific terrain builds.


2 Responses
Cool article, lots of great ideas. Would be interesting to have a semi regular series of these where you built a cool piece or several similar pieces in a Start to Finish format.
I agree! This would be really helpful and fun to see. I’m always looking for fun and easy ways to make terrain.