
Following my recent success running Dooku and the double Magnaguards at UKGE, I wanted to see if I could make an Empire winning list or if I was stuck being a one trick pony. I’ve always enjoyed the idea of a double bounty hunter list and while I’ve had some moderate success, I’ve never felt like it could go toe to toe with a good player running a competitive list.
The Choices
Cad Bane has always been one of my favourites, but I’ve struggled with putting him in a winning list. I always thought that having only a single training slot was the issue since I prefer Duck and Cover and Hunter as his four black dice have either blanked out or fallen short when I needed them the most. Turns out that even with the second training slot, I struggled to fit all the training upgrades on him due to his playstyle having been changed after gaining Independent: Dodge 2.
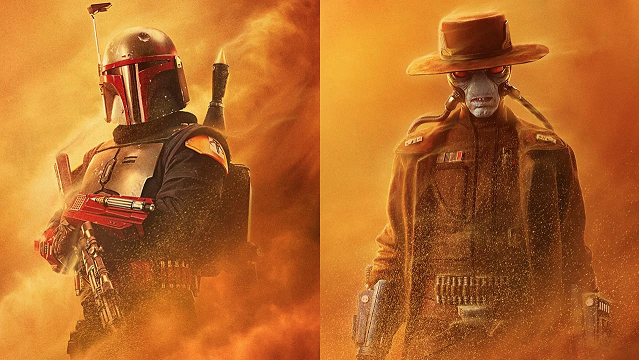
Boba Fett, both as a character in the Star Wars universe and as a playable character in Legion is, in my opinion, one badass dude. He’s had his moment at the top of the meta but it has always been fleeting. When I’ve put him on the table, he has always lived up to the hype; either by surviving due to red surging saves, or managing to get the killing shot on important units at the back due to his speed and sharpshooter.
My third favourite is Bossk, who is arguably one of the most reliable at getting the actual bounty. With his long range and opportunity for the number of crits he rolls, he can turn into an absolute monster on the table. He is the only bounty hunter I have never had a problem fitting into any of my lists.
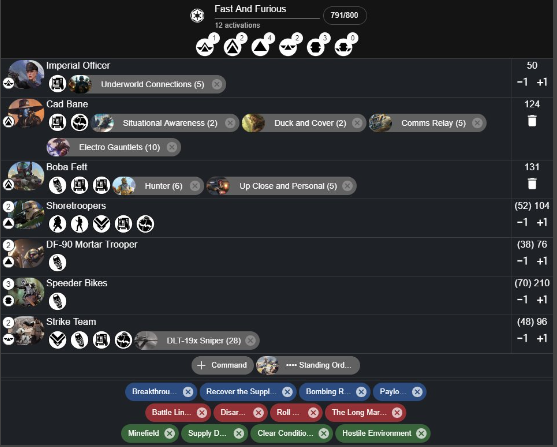
So my main objective was to pick two of the above characters in my list and in the end I went with the following:
The Reasons
One of the things I like most about Boba is his speed, but this can leave him on his own. In order to back him up, I went for three bikes and loaded up Cad with the comms relay and the Gauntlet in case someone did engage him. The idea was that he never had an order even on a turn I could play his command card to help guarantee dodges and survivability.
My tactic for this list was to Divulge on turn one. By placing the Bane token at range two from a friendly unit I can reveal him at start of turn one which enables me to relay the order and generate two dodge tokens. Then when I pull an operative token, I can go with whomever I feel is safest between Cad Bane and Boba. The shores and mortars were just there to help score more points on breakthrough or stop my opponent from scoring. The snipers could shoot any heroes and get a wound in early to help Boba trigger Hunter to get the final blow. The only downside that I could see to this list was zero order control.
Part of the reason I took some of these objectives was because of the tiebreakers and format in an upcoming tournament in Nottingham with a great first prize up for grabs. I knew with it being 24 players over three games, the top three places would all be 3-0 with the tie breaker going to be on MoV. At the time, I was trying to stack my objectives to help me score higher MoV. In hindsight, I think these kinds of objectives also help mobile lists, encouraging you to score fast and early, then spend the rest of the game either scoring the bounty or stopping your opponent from scoring. However, I was fortunate enough to have the opportunity to put my list to the test the weekend before.
List Practice at Elysium Games
My first practice run of this new list was at Elysium Games in Pontefract for a small 10 man local tournament. It might have been small but six of us have Worlds invites so it wasn’t going to be easy! This was going to be a good test for the list for sure. A brief summary of my three games is as follows:
Game One was Disarray, Breakthrough and Minefield.
I used my three bikes to kill my opponent’s units before retreating to score a victory point. I tried to score the bounty on Lando using Boba Fett but my opponent managed to use the terrain against me so I had to settle for using Whipcord on his Luke. I managed to win that game 4 – 2 with no bounty scored.
Game Two was Long March, Breakthrough, Minefield.
My second game I managed to do much the same again, using the three bikes to leave Maul on one wound. Boba Fett managed to claim the bounty against Maul but was unfortunately taken out. The bikes however managed to hide in my opponents deployment to score the win and claim a 2 – 0 victory.
Game 3 was Battle Lines, Payload and Clear Conditions
Up until this point I had been lucky not to face any other players with Worlds invites, but this came back to haunt me in the final to play against my friend Dave Grant who was the only person to beat me at UKGE. He was running Padme, Anakin and Saber Tank. It was a tight game which came down to a single clone save from a crit off my mortar to stop him from moving his payload, leading to a VP draw; I won on kill points. I won the 50/50 coin flip and a personal victory for my first time ever beating Dave!
As far as this list being a test run, I was pretty pleased to go 3-0 and win the tournament for the day, particularly with zero practice beforehand. Now onto the big test the next weekend!
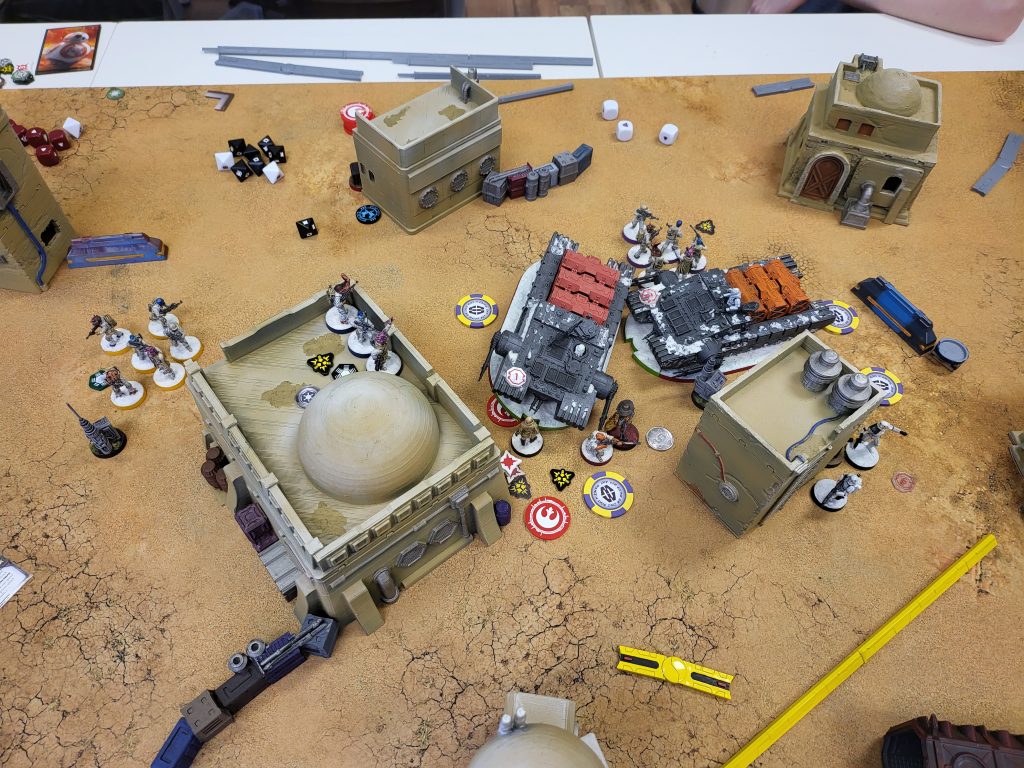
7th City Collectables
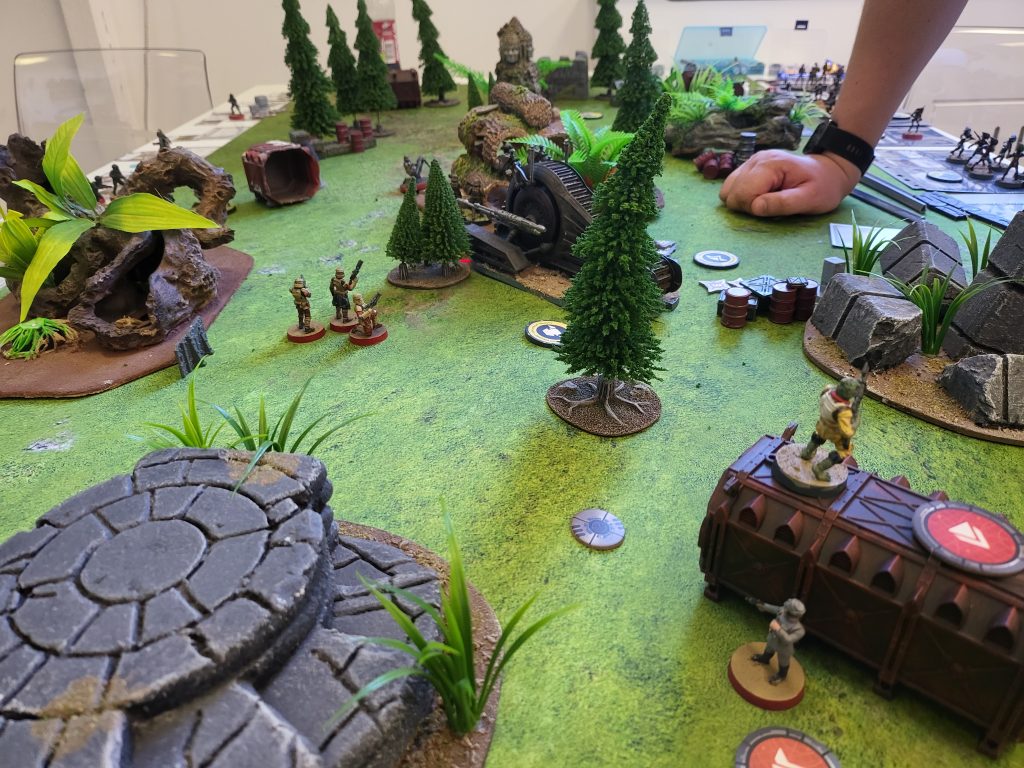
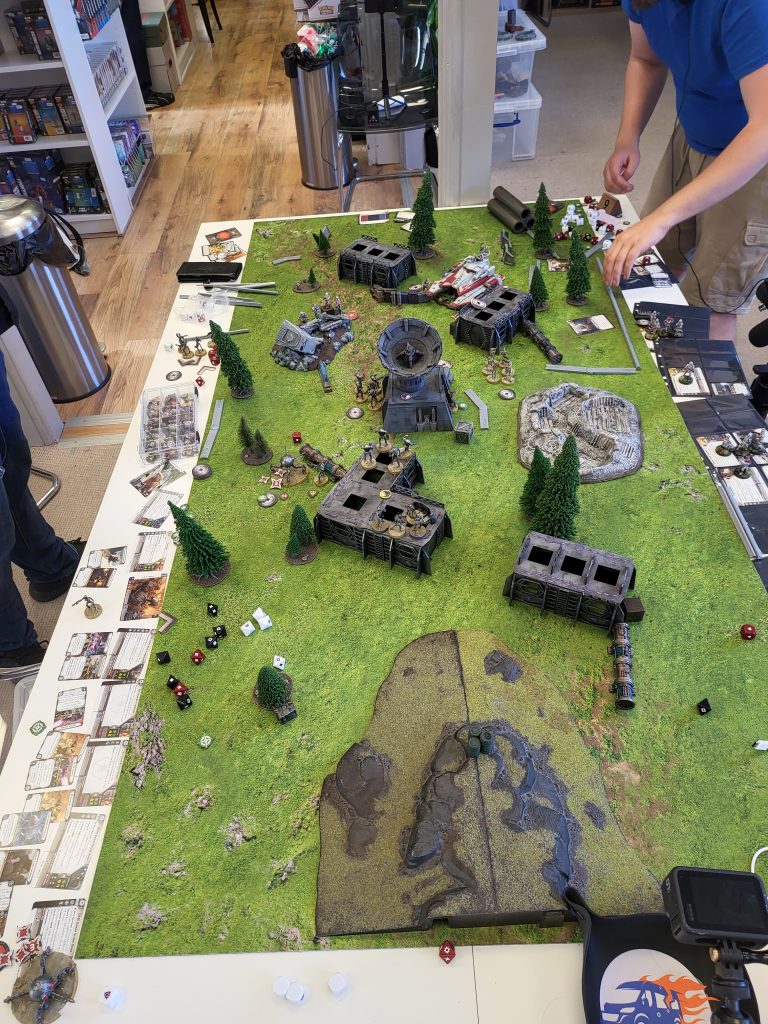
I’ve been to play at 7th City Collectables a few times now and turned up with some high expectations knowing what prizes were on the line. Everyone’s lists had already been locked in so no chances to do some last minute swapping. Overall, the theme of the tables was spot on for Star Wars and had a good mix between heavy, light and area terrain. The only issue was nearly every table had a massive line of sight blocking piece of terrain in the middle of every table. Some of these pieces sat right in the middle of your battle line deployment meaning if you so wished, you could play key positions and not even need to move or shoot. Just have more activations then your opponent.
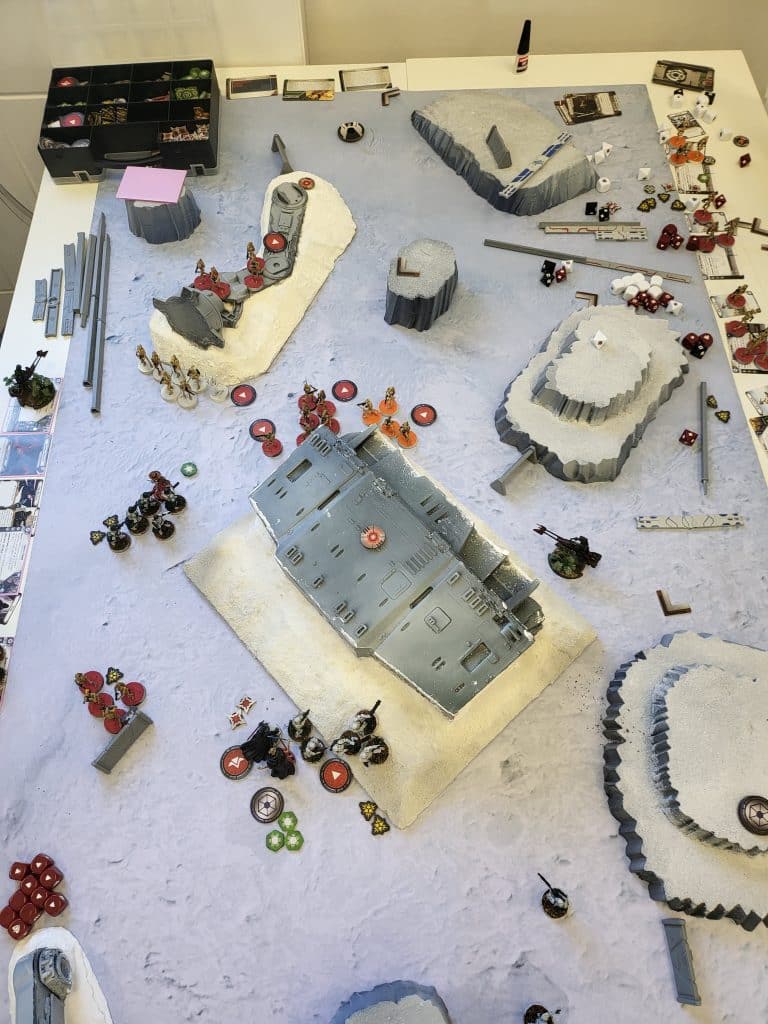
I was grateful that hopefully with a nine-point bid I wouldn’t be playing key positions, or if I did end up being the red player then to make sure to ban it. I did speak to the owner of the store about this at the end of the day since I didn’t feel it was the right thing to do criticize his tables before we’d even played on them, but the feedback was thankfully taken on board and he said it would be avoided in future events. This is something for TO’s to be wary about because as much as a blown up AT-AT looks amazing on the table, it can make for a relatively unexciting game.
Game 1 vs Ed
Recover The Supplies, Disarray and Supply Drop
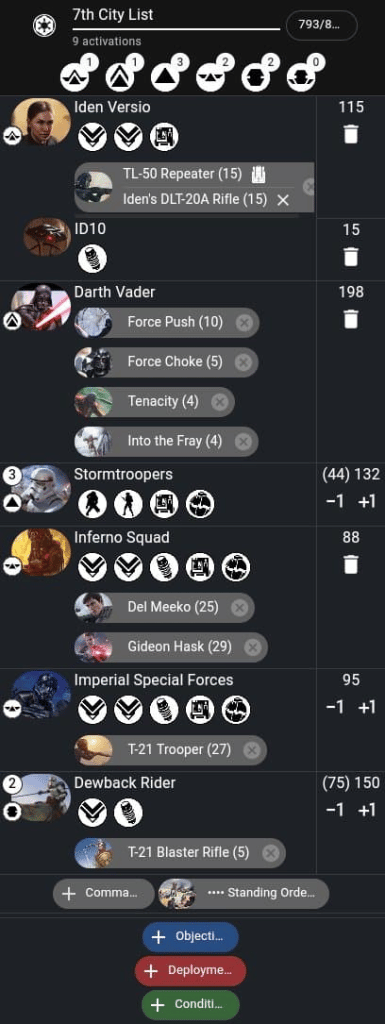
Looking across the table and seeing Iden, Vader and double Dewbacks with Inferno and an Imperial Special forces was quite daunting. I knew the Dewbacks would be getting motivated at some point; paired with the Tactical Strike, he had a strong combo.
I have to say a big thank you to Ed because I placed my first box outside his deployment zone thinking it was mine. He placed his then as I was placing my second he looked across and said you “know that’s my deployment zone” Oh damn I’ve given him a free box! But Ed offered that I redo that box which I was very grateful for!
I deployed my bikes all in one corner with Cad Bane as a token ready to jump on his boxes, whilst the rest of my army and Boba where in the other corner. Ed had put Vader and the Dewbacks all in the same corner with Iden and the rest of the army in the other.
Turn 1
The way we deployed allowed my bikes to move round and shoot at the Dewbacks; they left them both alive but wounded. In return, his Tactical Strike killed one of my snipers and the other sniper team was saving every shot from Iden. I drew Boba quite early and he jumped onto a crater and shot a Dewback, but in return took a hit and refused to fail a save.
Turn 2
New Ways To Motivate vs Boba Rocket as expected. The Dewbacks had blocked each other in and the one in front was suppressed so could only double move which was not enough to reach my gunline. Instead he tried to munch on some bikes but my white saves meant I didn’t lose a single bike. The other Dewback also went for a bike unit but was a bit more successful in taking it out whilst Vader charged in killing a mortar and dragging my shores off the box and into melee.
Turn 3
Whip Cord vs Master Of Evil. This was the turning point in the game for me. Ed went early with Vader killing the shores and moving to touch the box. I jumped down to be at range one and used Whipcord on Vader so I had until next turn to shoot him. I tried to get the bounty with Boba on the following turn but Vader was refusing to die until a bike finished the last wound off.
The whole time this struggle to claim my ‘safe boxes’ was going on, Cad Bane and one unit of bikes had killed off the 3 naked units and claimed a box.
At this point the middle box had not even been touched. Over the next 3 turns, Cad Bane claimed his two boxes and claimed the bounty on Iden, whilst the rest of my army ran back to claim my box after Vader was killed. The final score was 6 – 0 to me.
Game 2 vs Pete
Bombing Run, Long March and Minefield
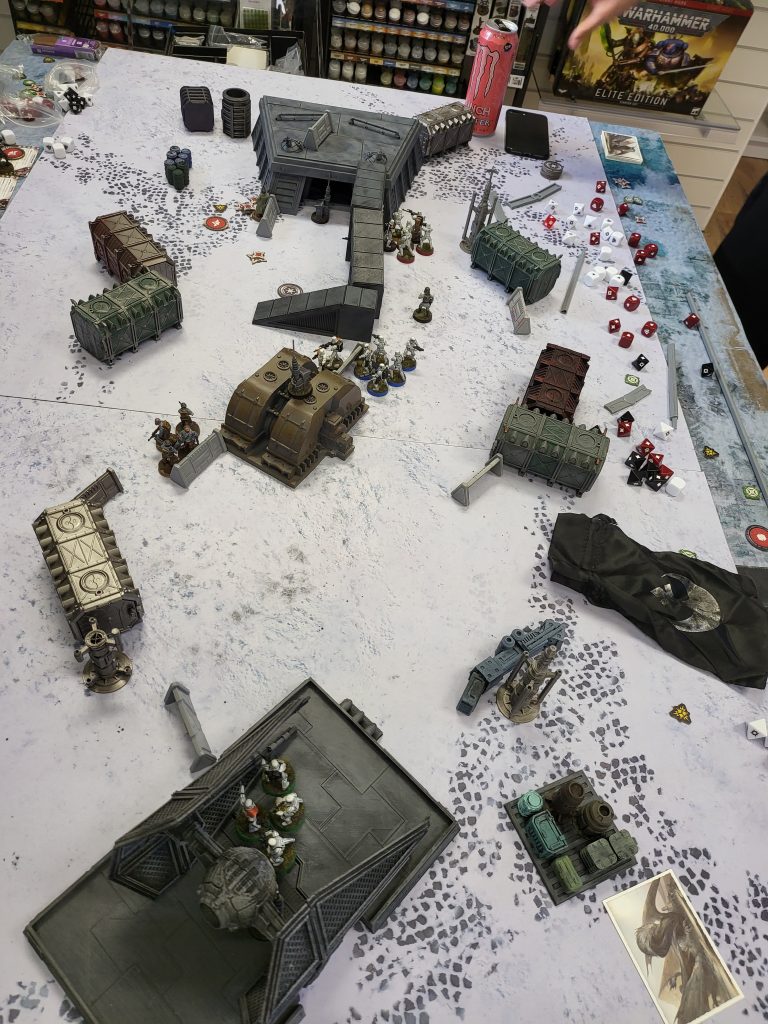
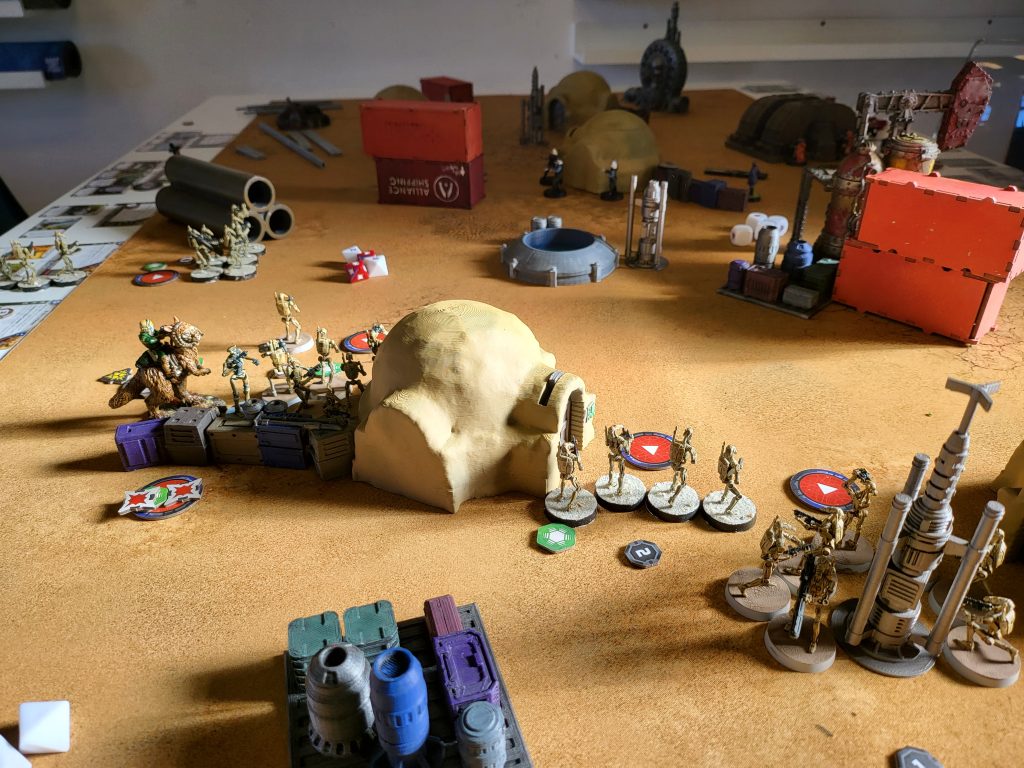
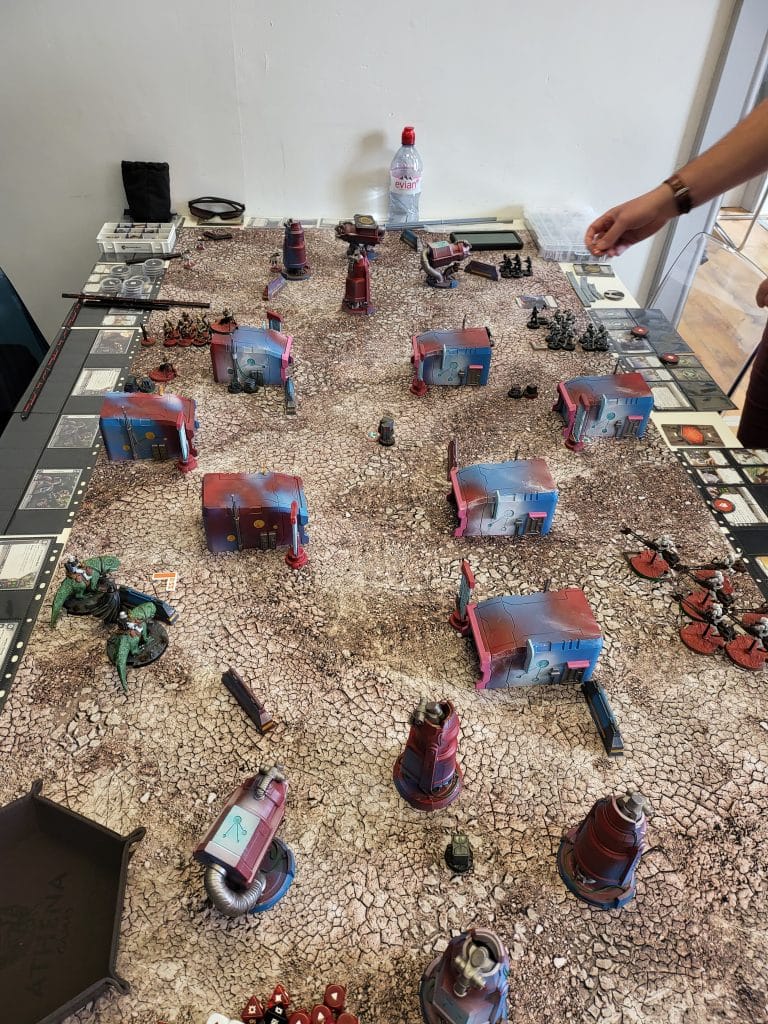
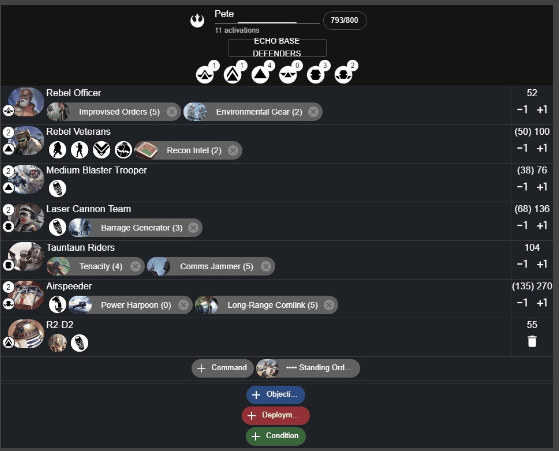
This was the infamous Echo base. With two airspeeders and Tauntauns, it meant it was great at Bombing Run since it has the offense and speed needed to complete the mission as well as having the standby gun line to stop you from scoring. This was going to be a tough game due to Pete’s skill and the list he was playing.
Turn 1
We both played Assault with Pete winning the roll off. I ended up pulling two of my bikes first and decided to just do the compulsory move, ending up behind the broken AT-AT and took a dodge. I knew I could not make it in one turn and didn’t want to move in range of the FD cannons. Pete used one of the speeders to clear Cad’s mine then moved forward and shot one of my bike bomb carriers. With cover, a dodge and some good white saves, I only took a single wound. This allowed me to start crit fishing with all my other units. I managed to do five damage to the speeder and getting ‘disabled’ was the best result for me. Cad was the last thing in my bag and being on the same side as the Tauntauns meant I could double move into combat with them to slow them down.
Turn 2
Jetpack Rocket vs Blast Off! I was not expecting this and the fact he went with R2 first to heal the speeder and removed the damage condition didn’t help. I had to go with Boba to try and do the 3 wounds needed. Unfortunately for me, Pete managed to save everything! Now it was race to see who could pull the bomb carriers first. I managed to pull one of my bikes first who took an aimed a shot to finish off his speeder before moving forward behind a line of sight blocker from the FD cannons. The next unit to go was the speeder who moved to score the first victory point while leaving a bike unit on two health. The Tauntauns stuck in combat withdrew and killed a sniper team. In return, Cad decided to punch them with his gauntlet leaving them immobilized for the next turn.
Turn 3
I’m your Worst Nightmare vs Turning The Tide. I decided to bounce Cad’s order so the snipers could shoot and wound R2 with the hope that Boba would be able to claim the bounty. I managed to pull a bike before he pulled a cannon, so I triple moved to score my first point bringing it to 1-1. The bike who dropped the bomb was shot off the map soon aftereward, but they had done their job. In the same turn, Boba managed to kill R2, taking me into the lead. Cad Bane finished the Tauntauns off.
At this point all I had to do was either hide Boba from the speeder I had left harassing my back lines, or score another bomb. However, since I knew today would be decided by MoV, I tried to score extra VP. I managed to drop both bombs on turn five which left a bomb to be disarmed. I played Whipcord into Hold The Line and gambled. I double moved in the hope I’d Whipcord the officer trying to disarm my bomb, which would leave me with a 3-1 lead, expecting Boba to die. What actually happened was I triggered the standby of an FD who got fire supported by a Mark II, dealing three wounds. Then Pete spent the Mark II standby to finish Boba off and left the officer to disarm the bomb. I should have just let him disarm the bomb and I would have been guaranteed 3-1 victory instead of the 2-1 victory, but I got greedy. Lesson learned!
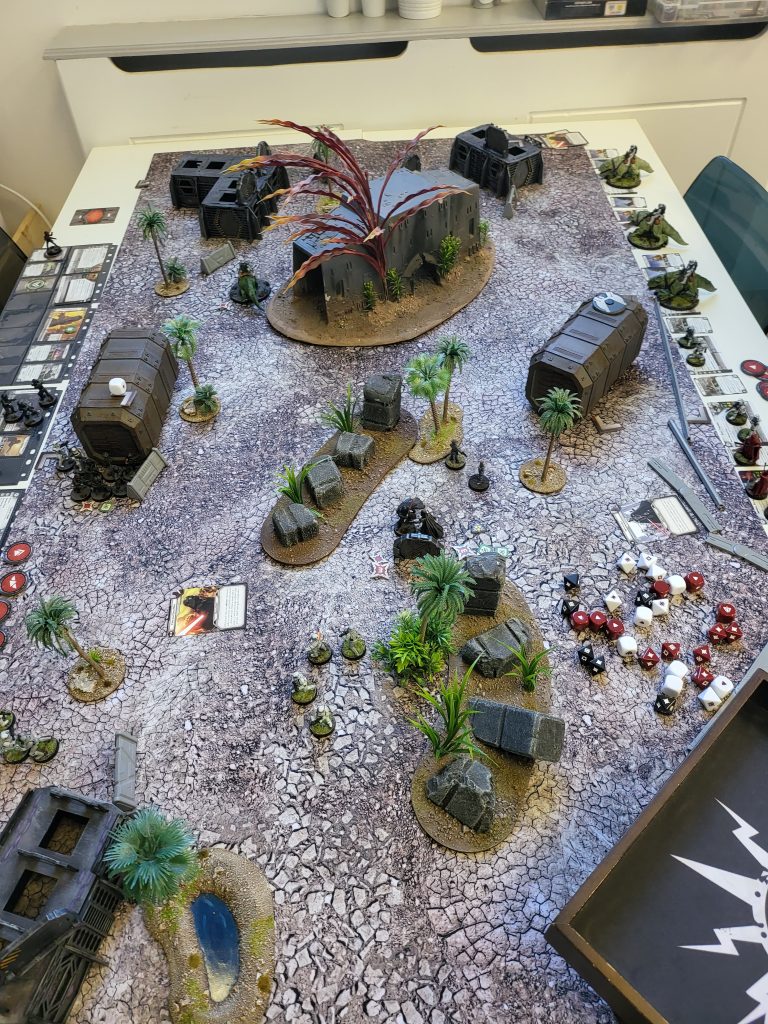
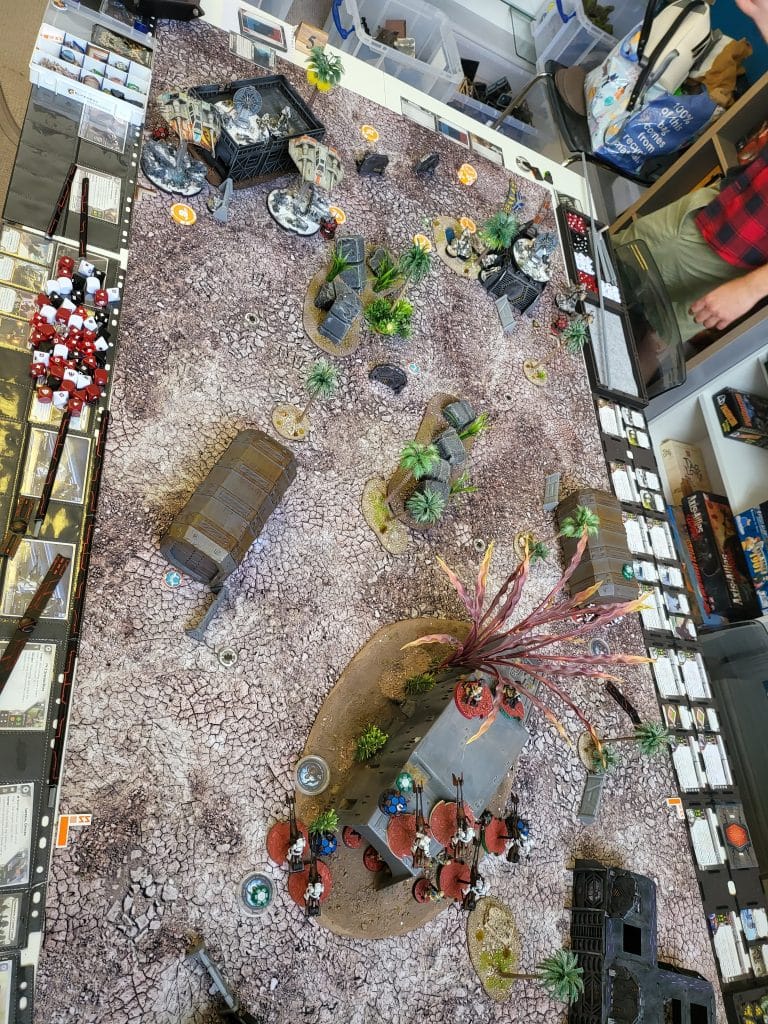
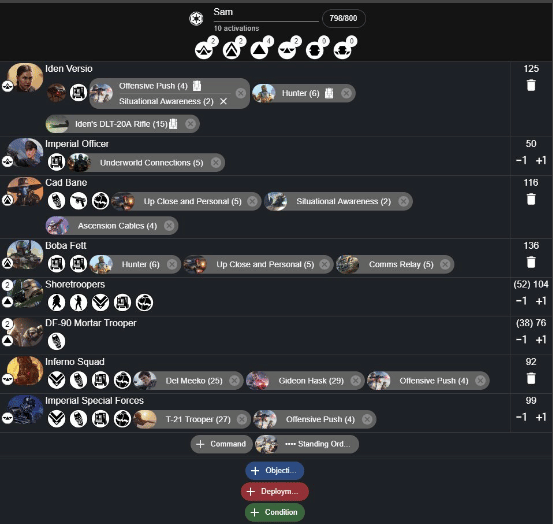
Game 3 vs Sam
Payload, Disarray and Minefield
Sam had a similar list to mine but having the fire power from Iden vs my bikes. I had never had the pleasure of playing Sam before but heard he was a good player. This was going to be a close good final.
I deployed all my bikes in one corner and a bike unit at range two of a Bane Token. I placed the rest of my army in the other corner surrounded by mines and Bane tokens apart from one dead centre. While the rest of his army was with Iden, Sam put his Boba in a corner all by himself in the open.
I put my bounties on his Boba and the generic officer then Sam did the same to me. For the payload neither of us could actually touch the objective so the most either of us could score would be two points from the mission.
Turn 1
Sam won the roll off and started by moving and putting the suppression down on my units first. In the meantime, I went with my solitary face up token which I’d placed on my bikes and took an aimed shot against Sam’s Boba, dealing three wounds. This put the pressure on Sam early as the race for pulling an operative from the bag was on. I pulled mine first and went with my Cad and got the killing blow on his Boba putting me in the lead now.
Turn 2
Boba Rocket vs Tactical Strike. Sam decided to reveal his Cad Bane in the middle of the table since I had already flipped his ‘Smoke and Mirrors’ token and had started moving around his bomb. Cad was safe for the time being in the middle in heavy cover, so Sam went with his Inferno Squad, wiping out a sniper team, whilst Iden failed to finish the other unit off due to a double blank sniper shot. In return, I managed to kill the Special Forces with Boba and mortar shots.
Turn 3
“I’m Your Worst Nightmare” from both of us. Sam used Cad Bane to kill off a mortar and tried to get line of sight on my officer to also claim a bounty. Fortunately for me, he was hiding behind a tie fighter’s wing. Instead his Cad nearly killed off a unit of shores escorting my payload. I focused everything into his Cad this turn with my Cad being the only one being able to push any wounds through and I only just managed to move my payload due to having to move my bikes away. When it came to moving the payloads, Sam decided to not take the most direct route with his payload which made it harder for me to contest his.
Turn 4
Flame Projector vs Standing Orders. I was expecting Sam to play Cad’s two pip this turn due to the amount of suppression on him. He was able to clear off enough to stop panicking but not get two actions, which again kept my officer alive. Sam used Cad to clear up a bike unit, and my lone sniper that survived turn two killed off his Inferno squad. I moved Boba to flame and pierce a unit escorting Sam’s payload but this meant my Boba was out of range of my payload. Due to Sam’s previous slight indirect route of movement with his payload, he managed to get enough units to keep his moving and contest mine. This meant I could only score one VP with my payload while he could still score two. So best case it was going to points destroyed if I could keep my bounty and stop Sam from scoring his.
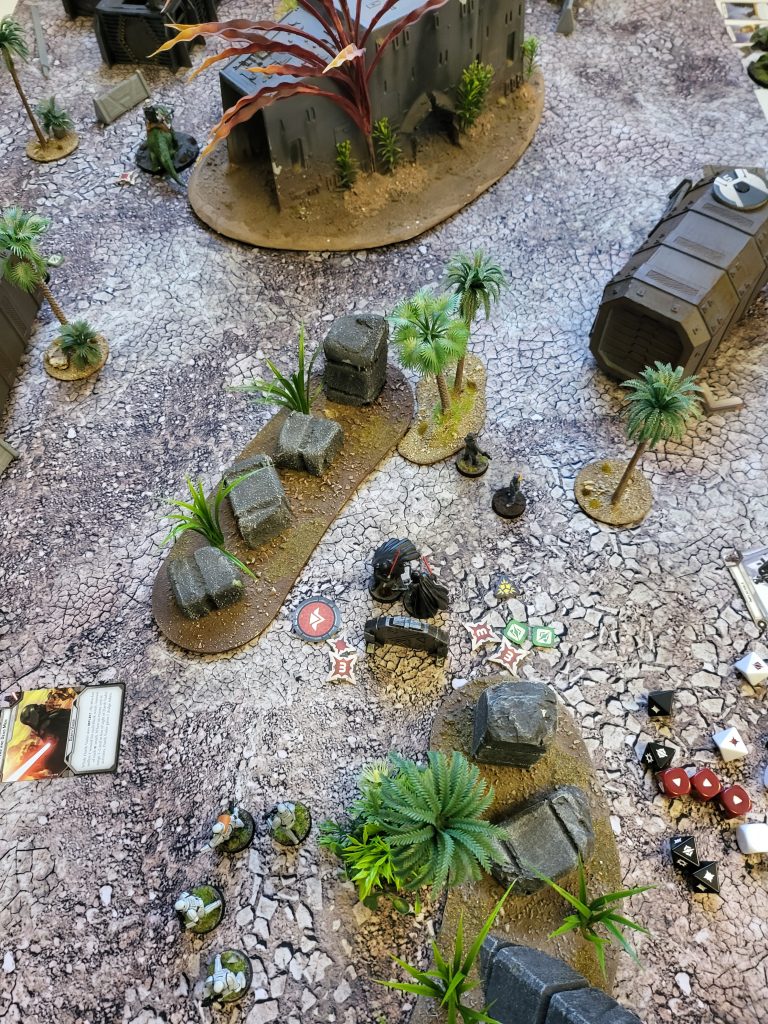
Turn 5
Whipcord vs Aggression. I went with Boba first to jump and shoot his officer and Whipcord his shores to stop them escorting his payload. The officer didn’t make a single save giving me the second bounty. It was at this point the game was called. I had both bounties and if the rest of the dice rolled went in Sam’s favour it would have gone down to points destroyed where I was quite far ahead having only lost the bikes and a sniper unit at this point.
Final Result
I had managed to go 3-0, with two of my games being 100% MoV. I had managed to secure first place and win myself a Battle Force of my choice when they are released in September. The list is not easy to pilot, and I got lucky with some of my white saves for sure. I think there are some better list versions of double bounty, but it definitely is one of the new meta lists. In my game against Ed, by running double bounty he couldn’t infiltrate Iden without giving me a naked unit of Stormtroopers to put the bounty on. Having a unit with bounty on makes you play more consciously with the fact that either of them can claim it.
Overall though I had a great day with three games against three great opponents at 7th City. Plus being able to walk away the winner with my £150 Battle Force box making it all the sweeter, I’m already looking forward to my next trip to Nottingham to write another battle report.
The Other Tables